Jane's Addiction - Classic Girl - Which this asshole certainly is *NOT*
I get really tired of this sort of thing.
Safety is in front of piece of shit Stephen Miller's unworthy asshole of a wife. He is guiding her toward safety, as Miller is being guided to safety by the man behind him.
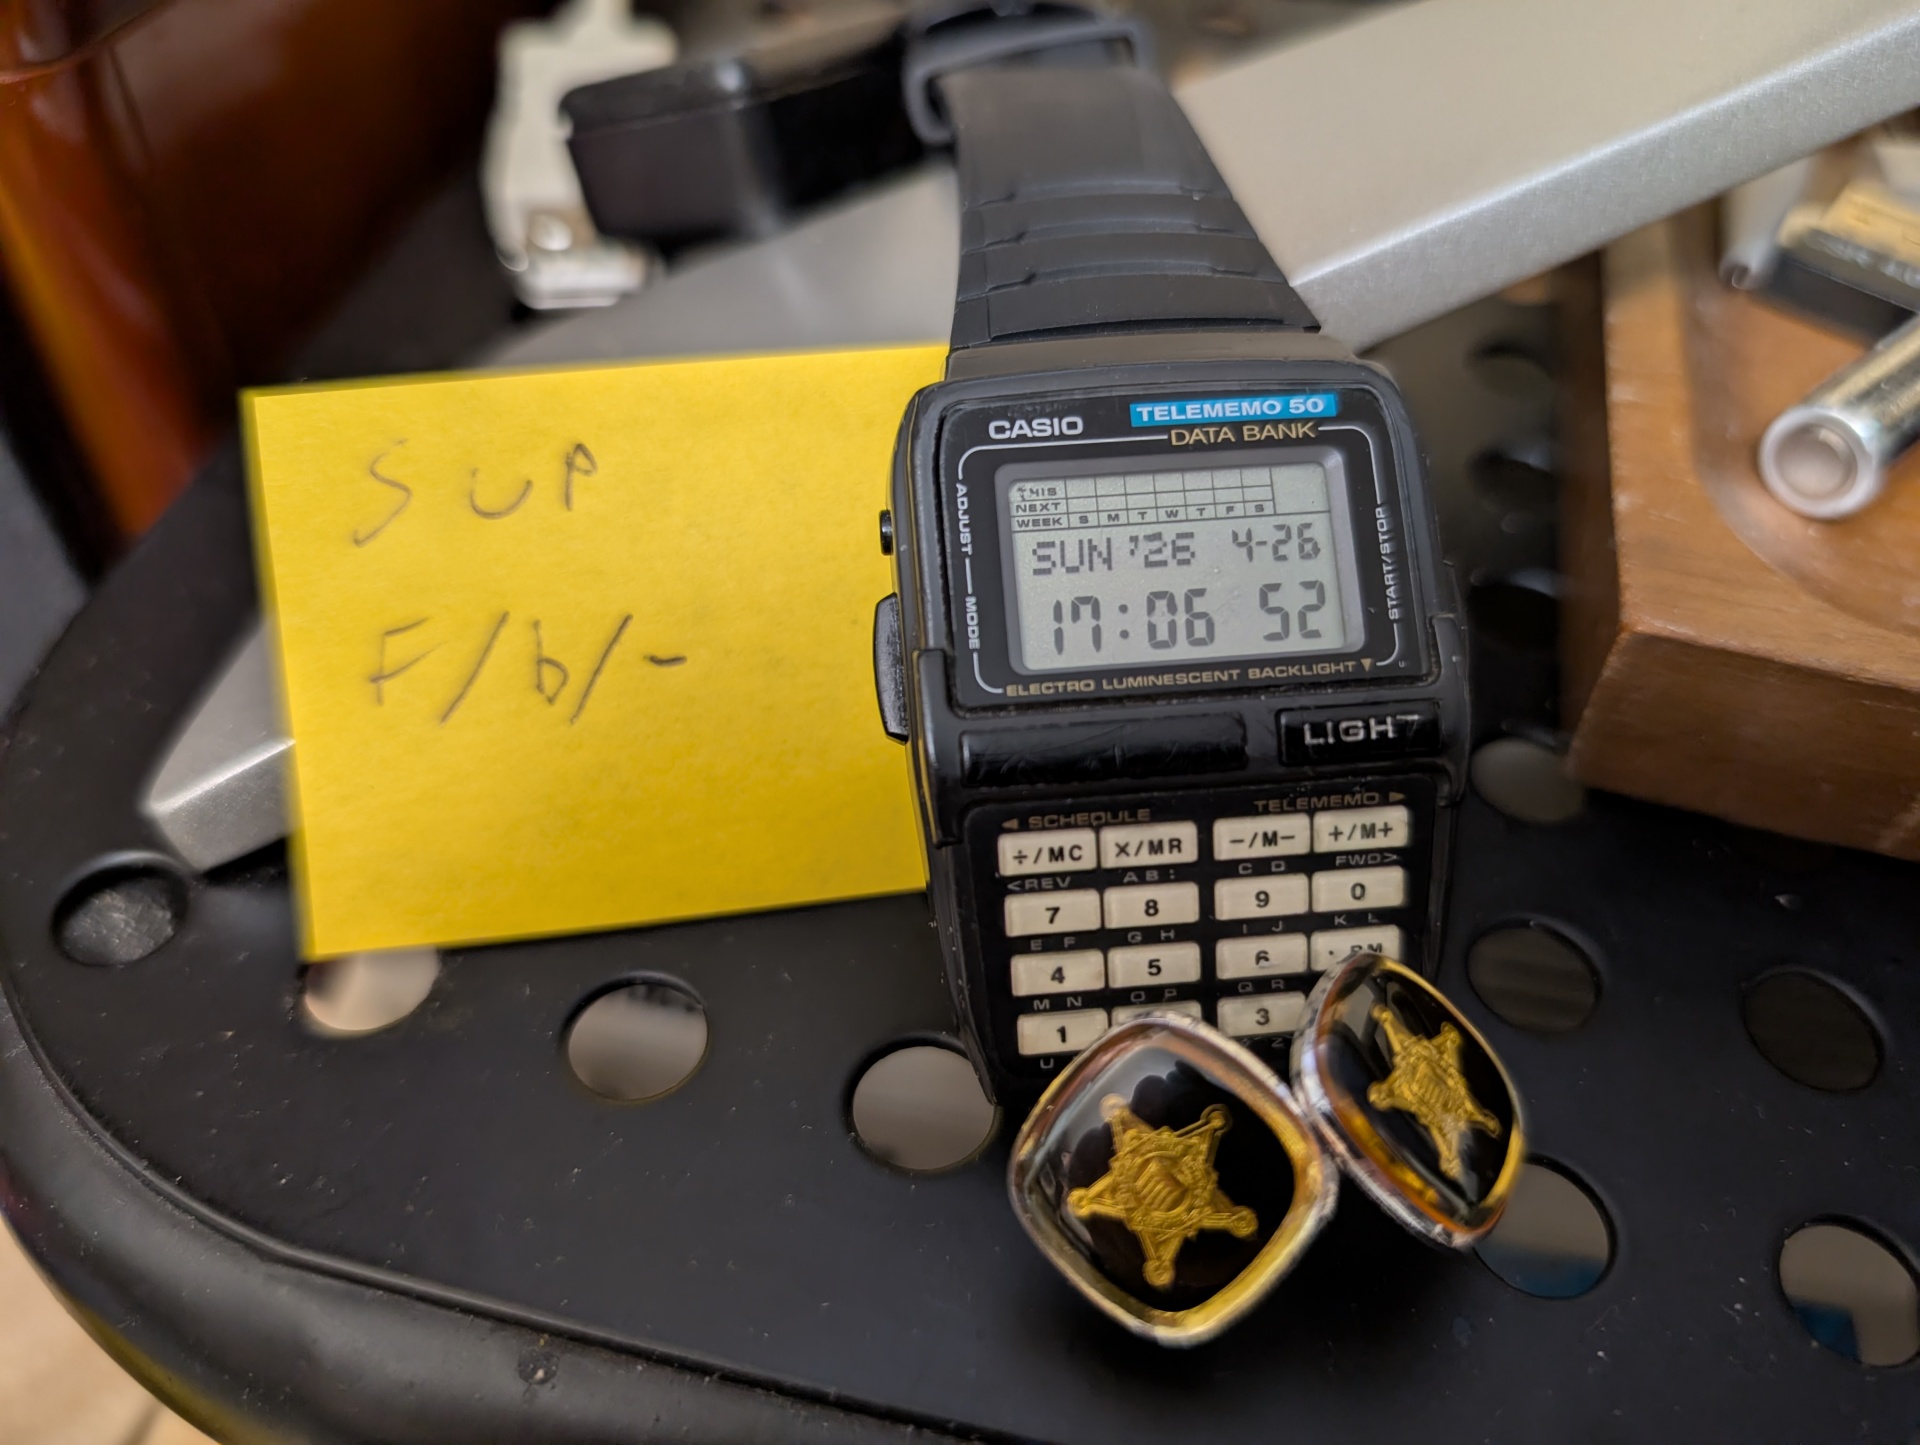
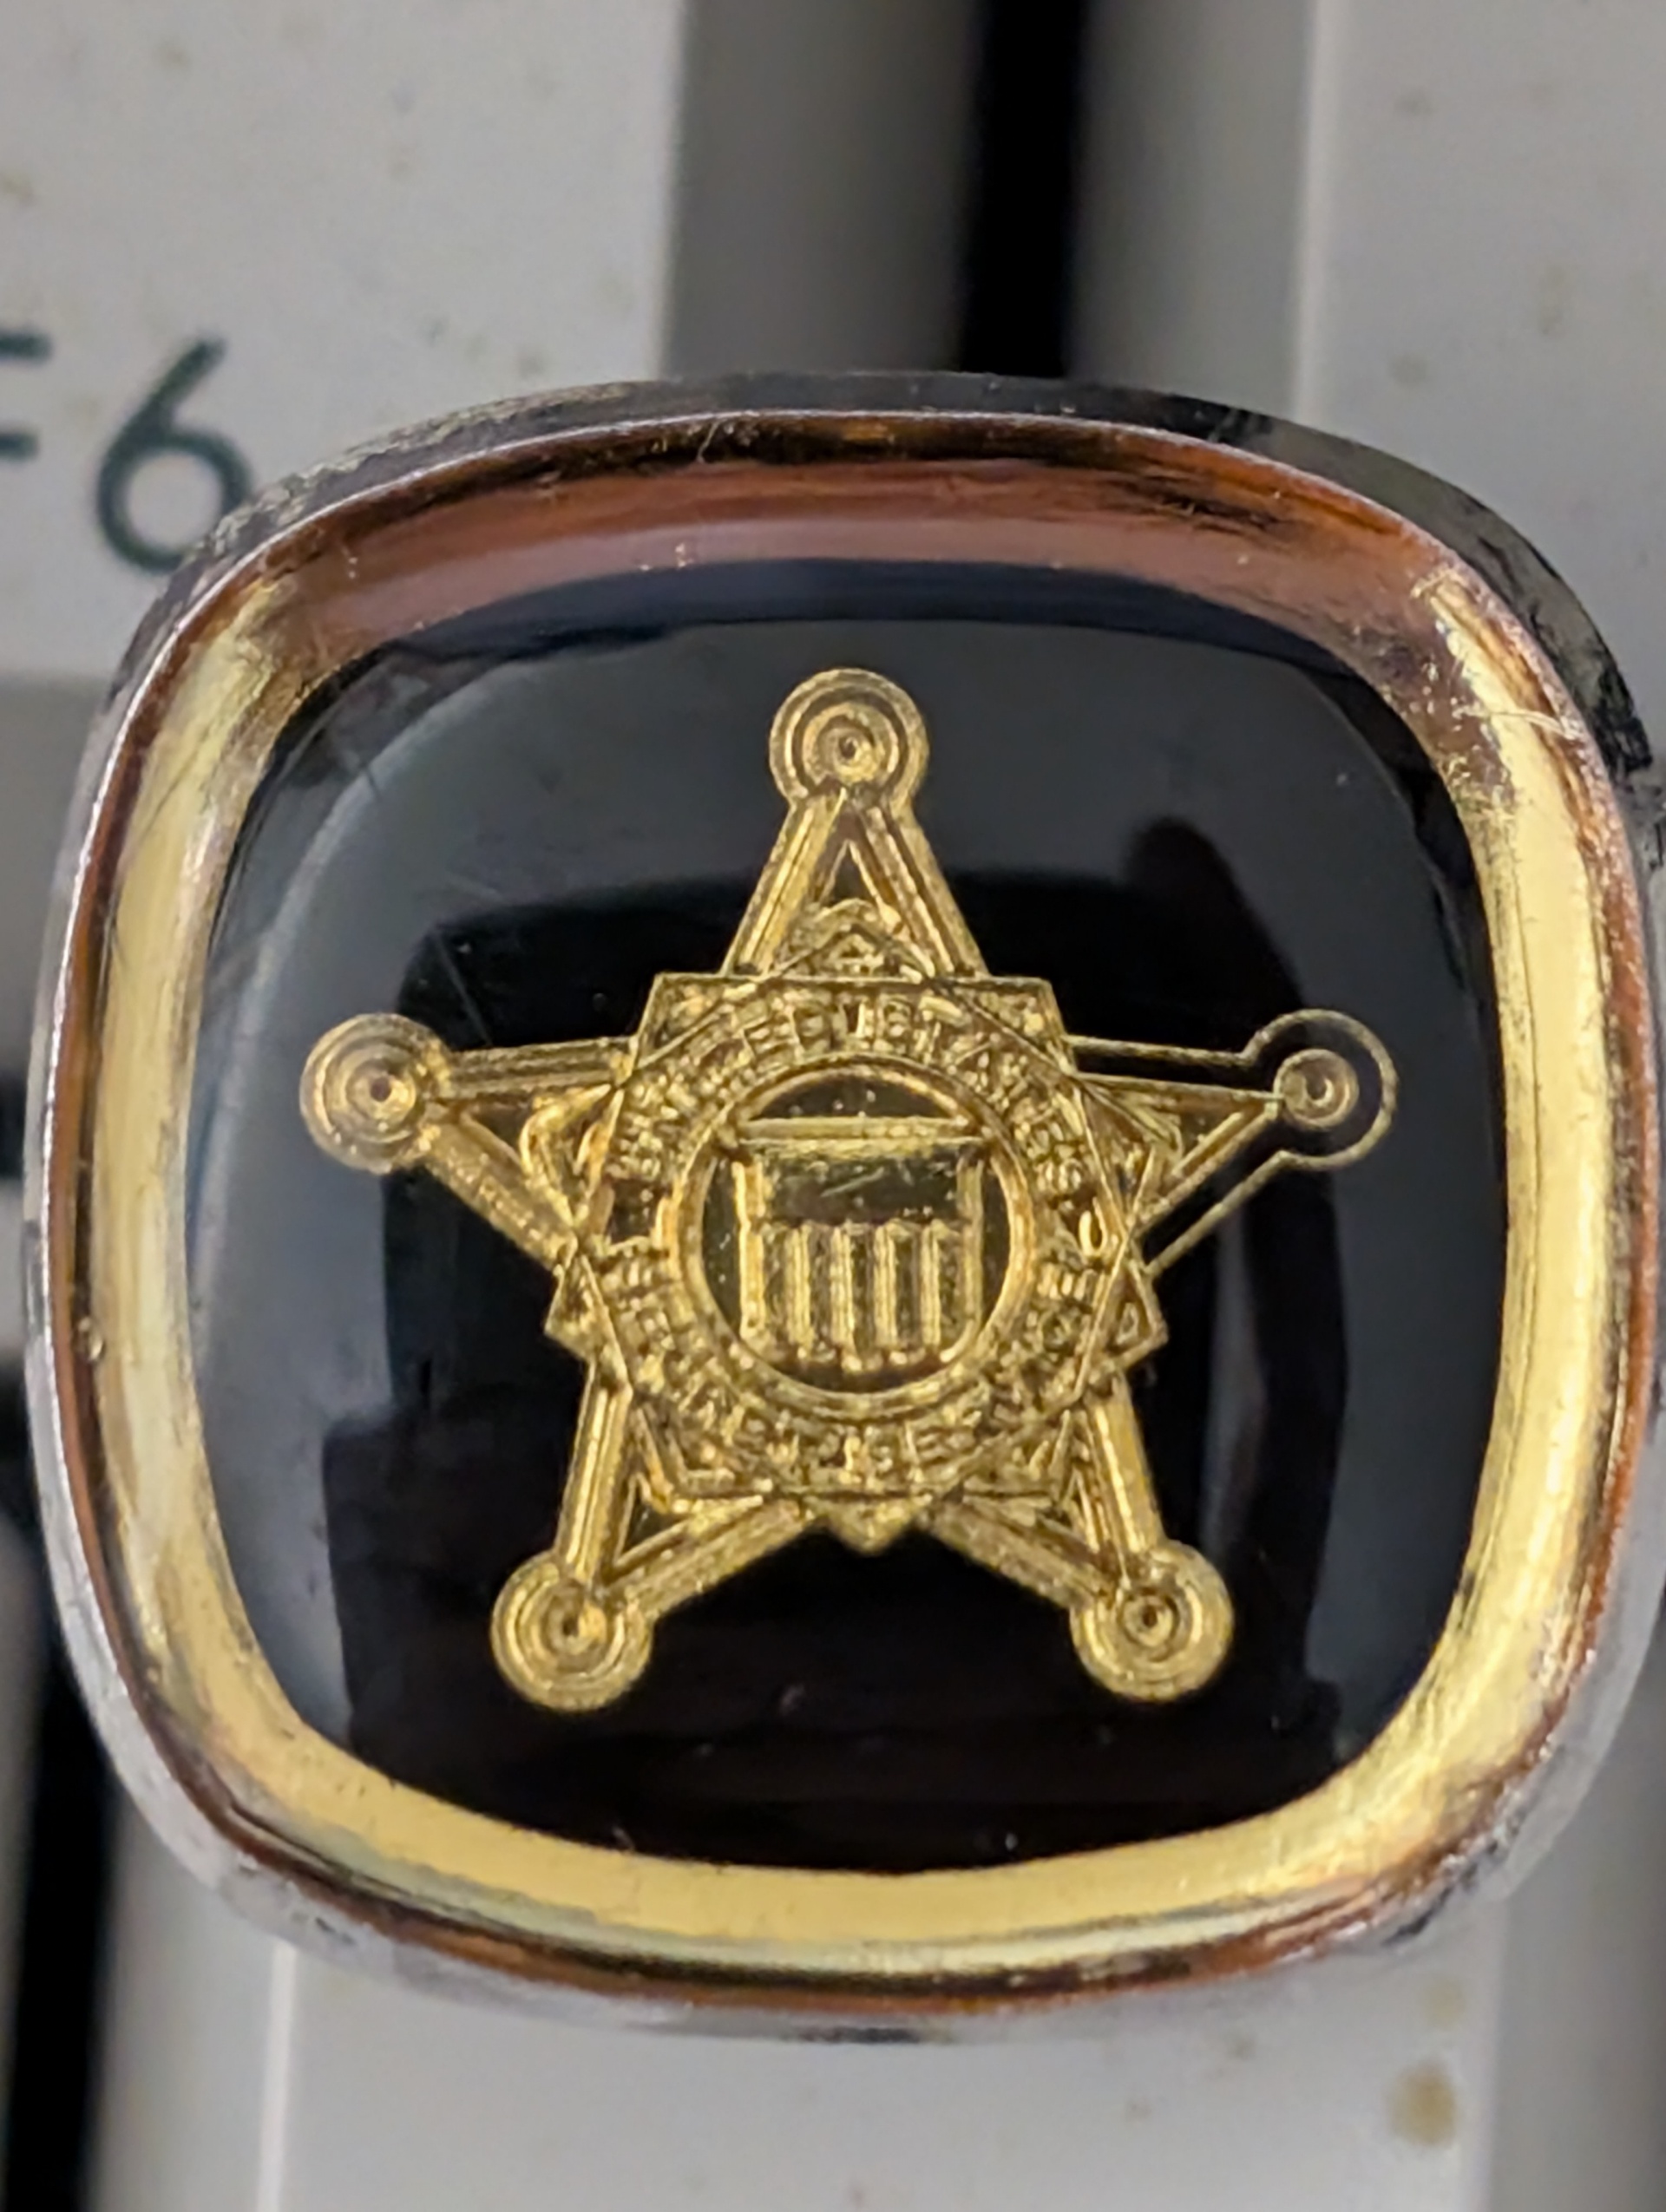
I'm pretty sure that if we could see that man's cufflinks, they would look very similar to mine:
Sandie Shaw - There's Always Something There To Remind Me
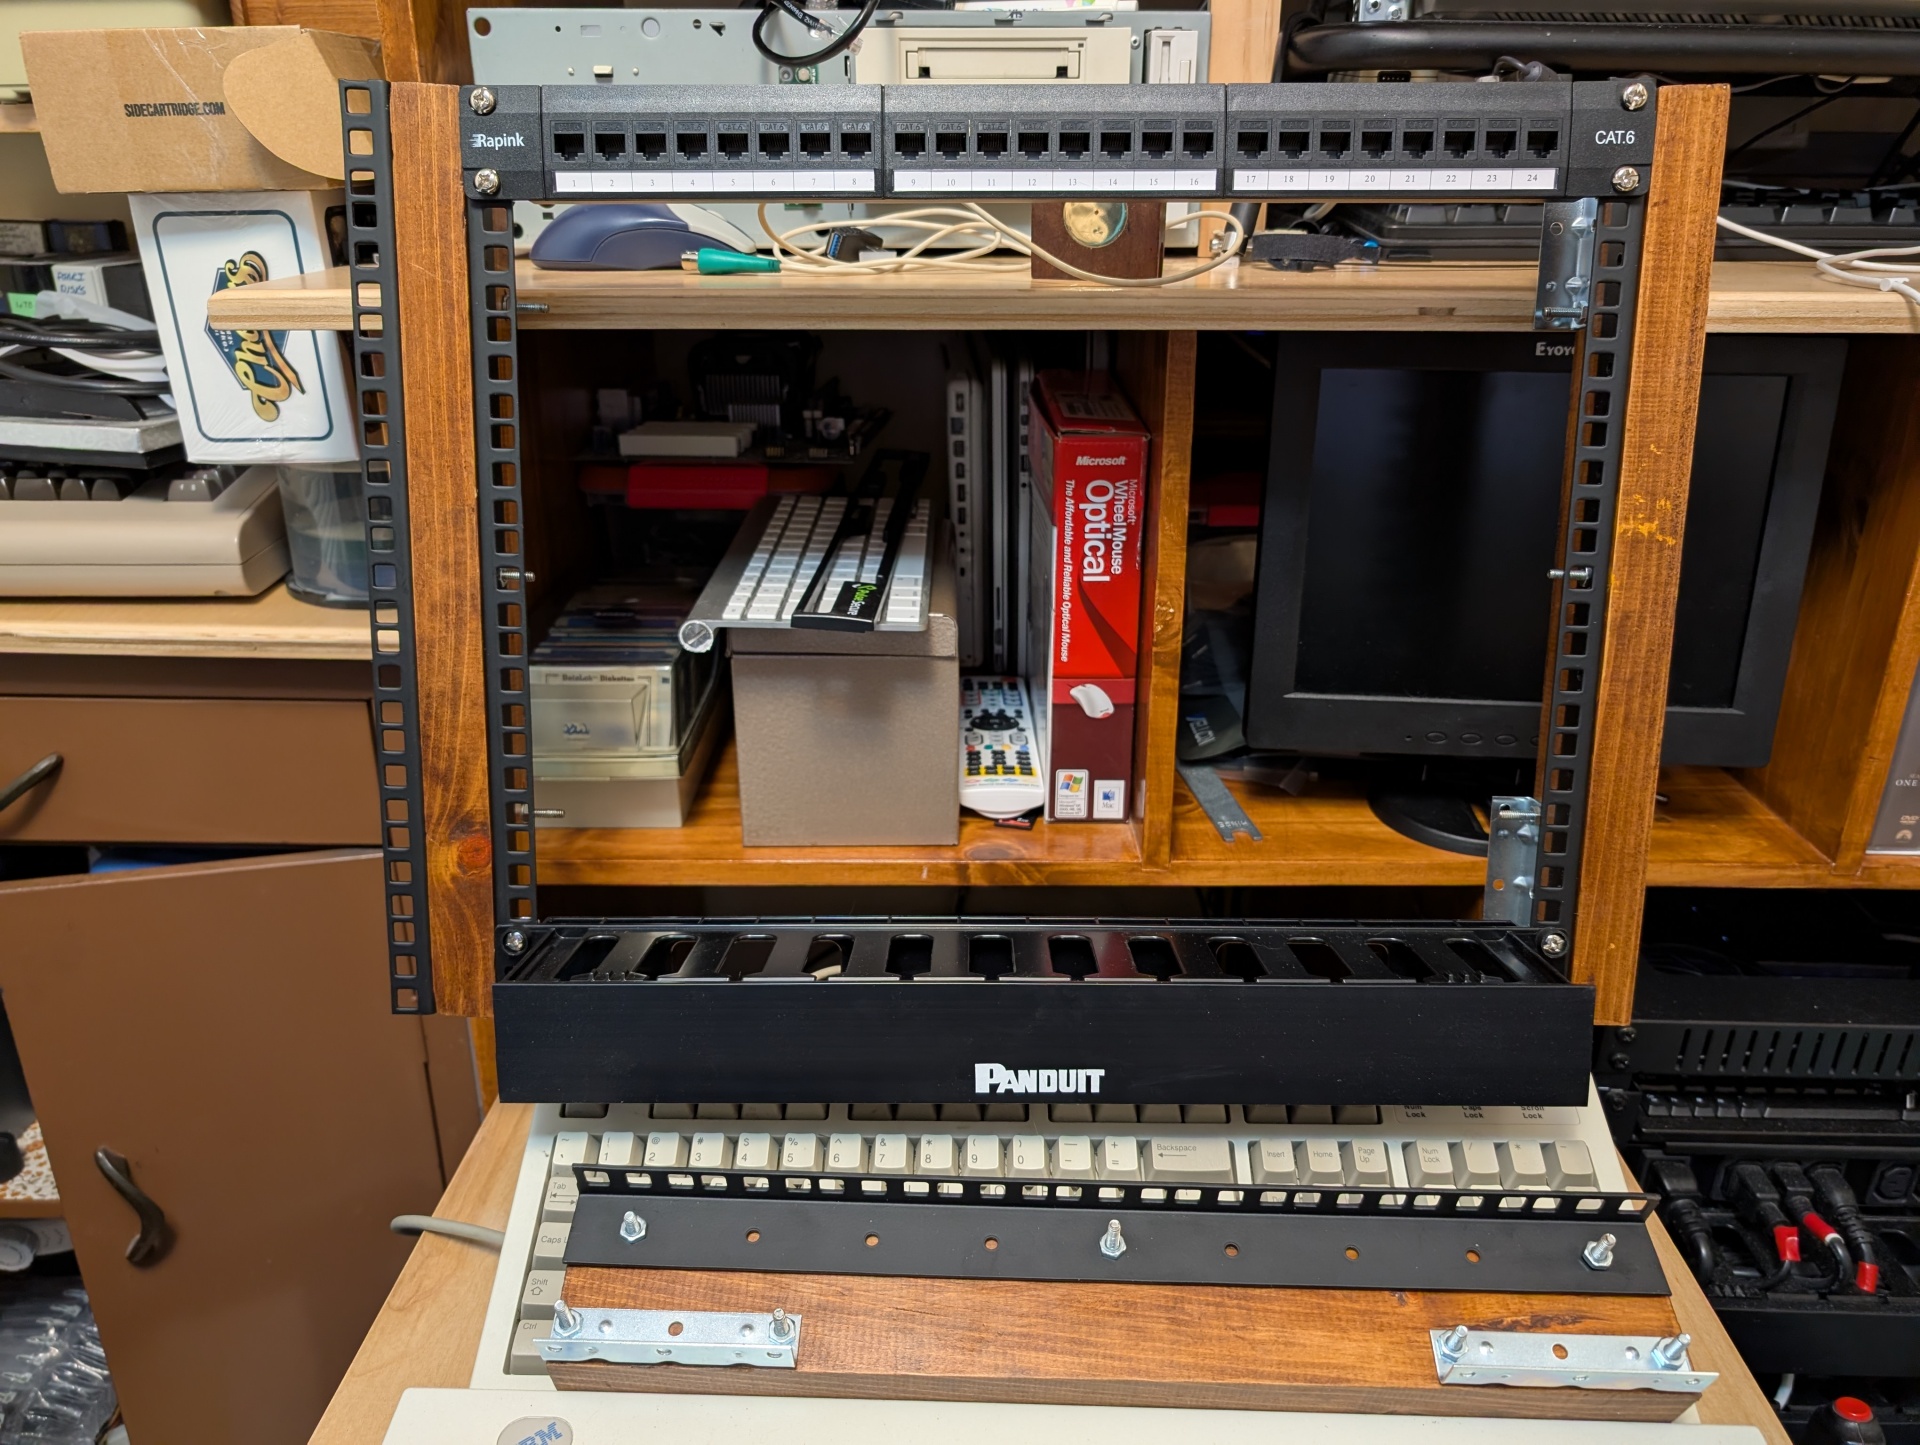
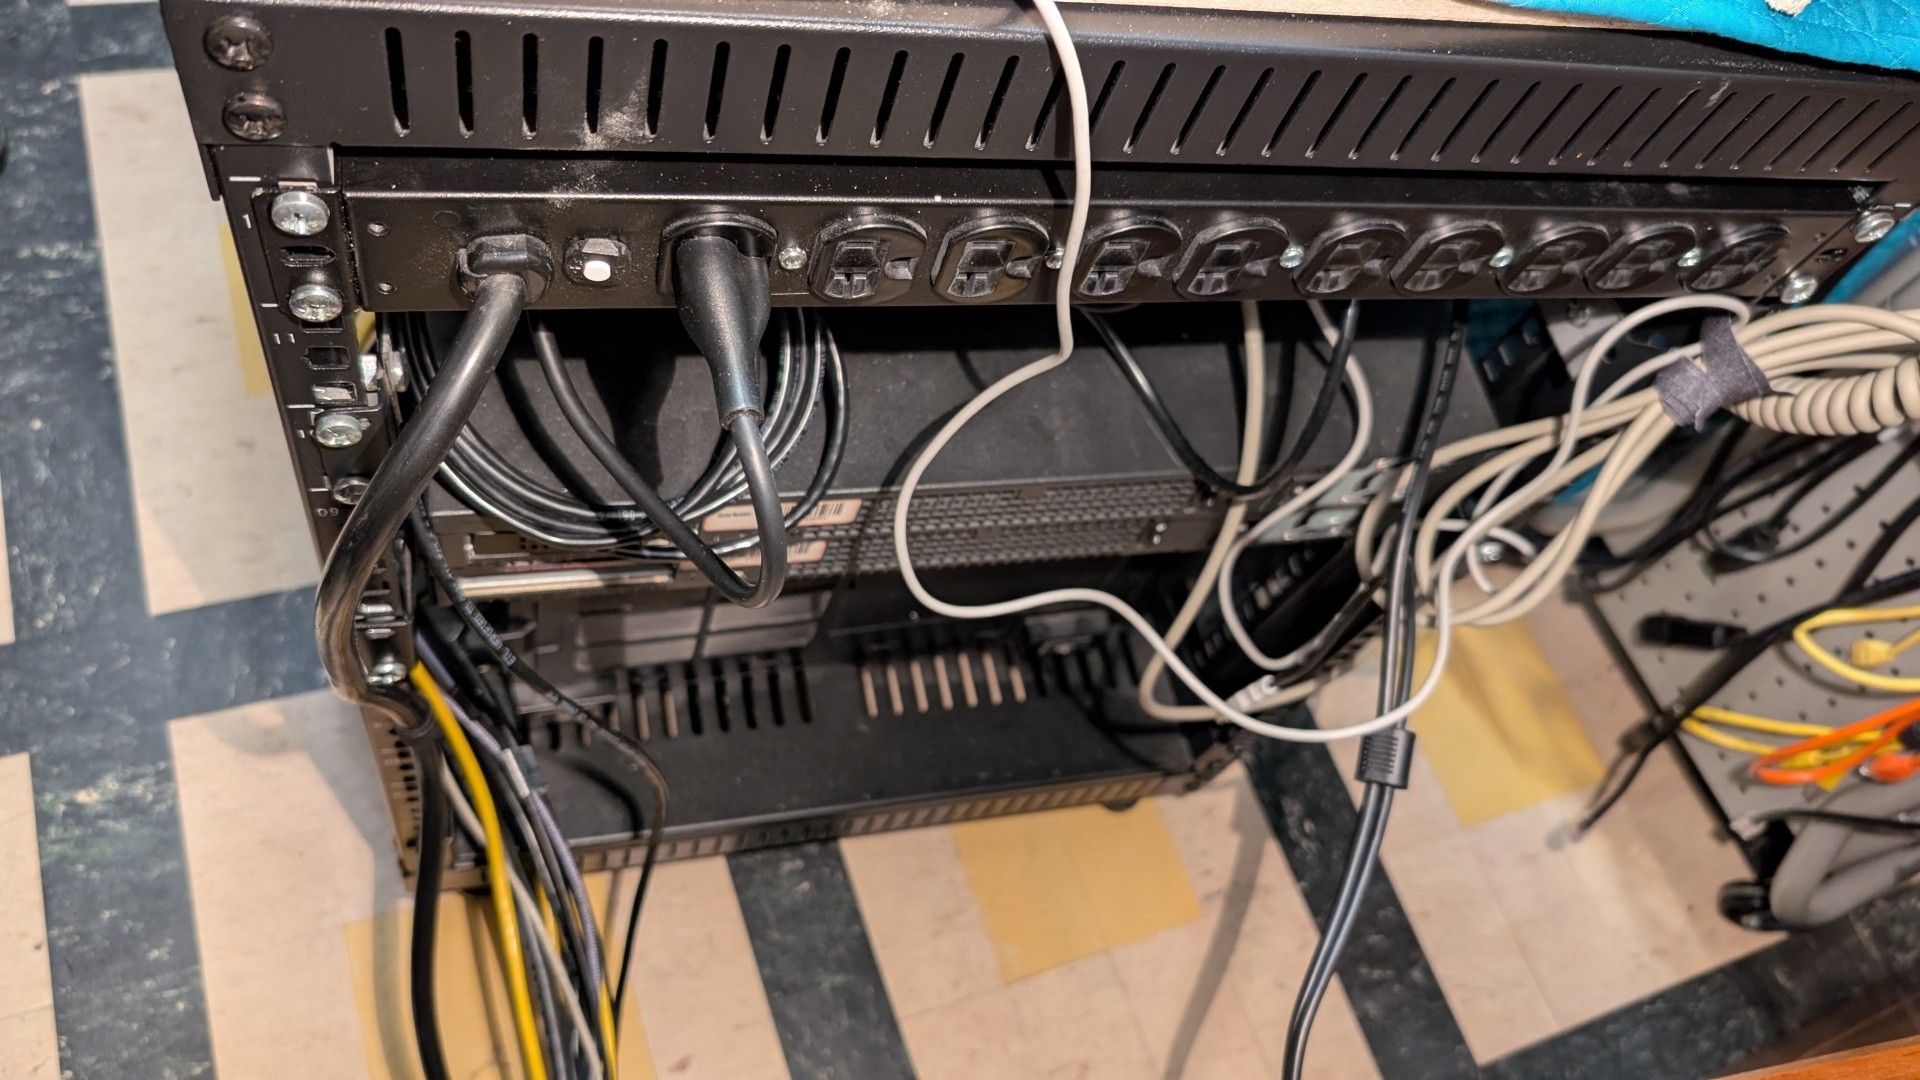
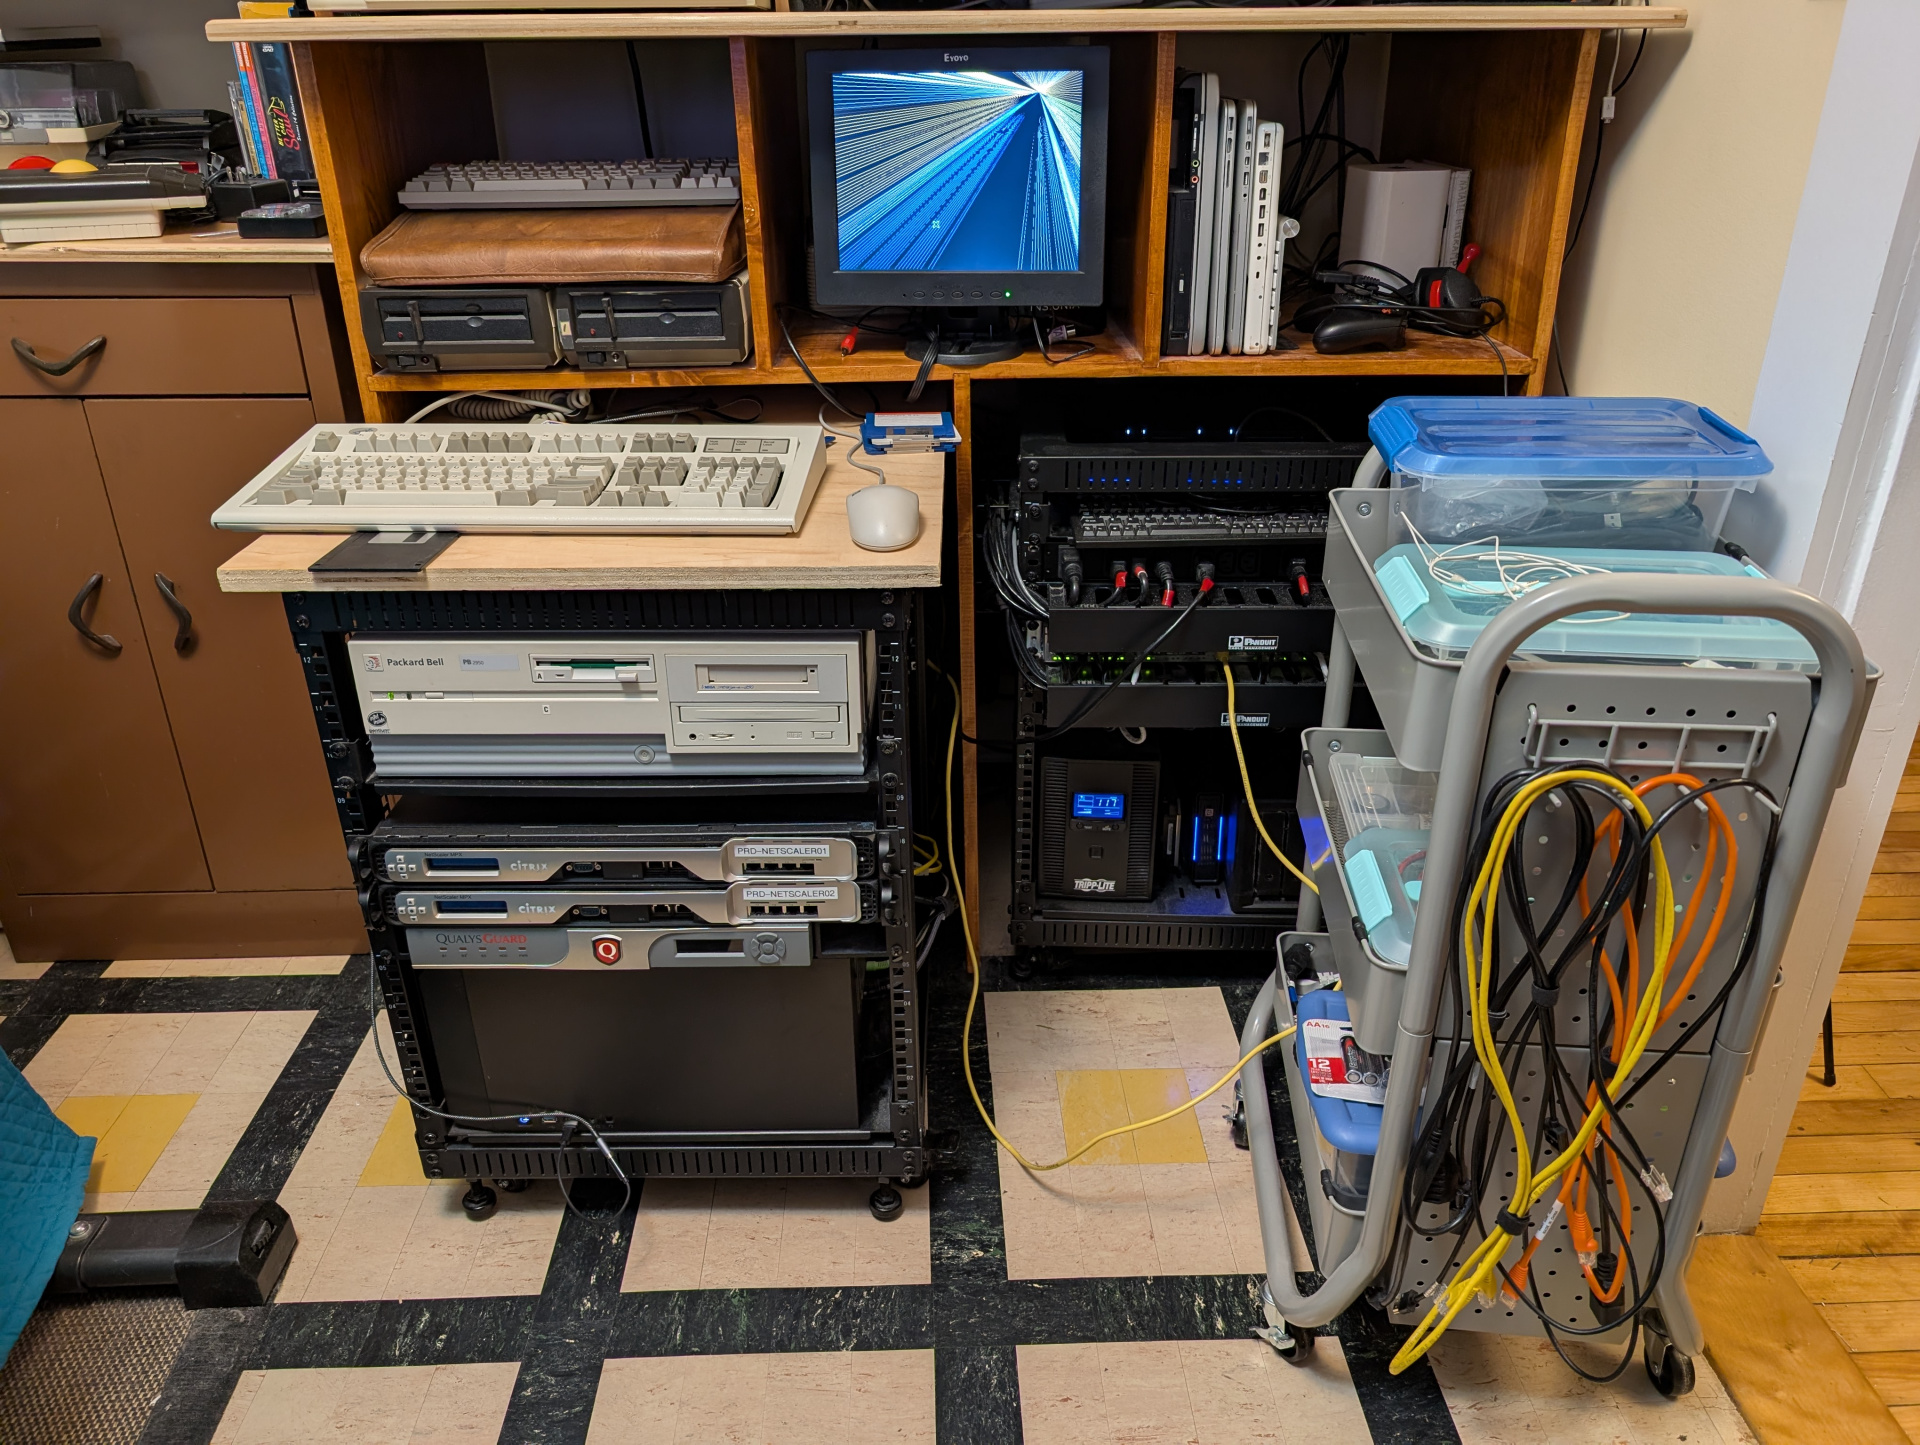
I put together the 9u rack rails today and they look great. I just used a 2x3 that we had laying around chopped it roughly to size and used BriWax to finish it which was super fast vs all the waiting around for stain and varnish.
Unfortunately it's not quite going to all fit inside the 31" wide hole I have for it. So that whole cabinet needs to come off the wall like 1/2". Which means anything we care about hitting the floor needs to go. The server racks will be just fine where they are.
One thing I am going to do is flip the bolts around on the outside two now that they're not going to be visible. Anyone sticking their hand back there deserves their tetanus. I'll put some caps on them. Maybe. I'll also carve out the middle section of each 2x3 for cable pass through.
It will also be nice to have this henge/cabinet at least loosely attached to the wall since I'll just jam some corner brackets to it. It's not unstable, but now it'll never go anywhere.
Addendum:
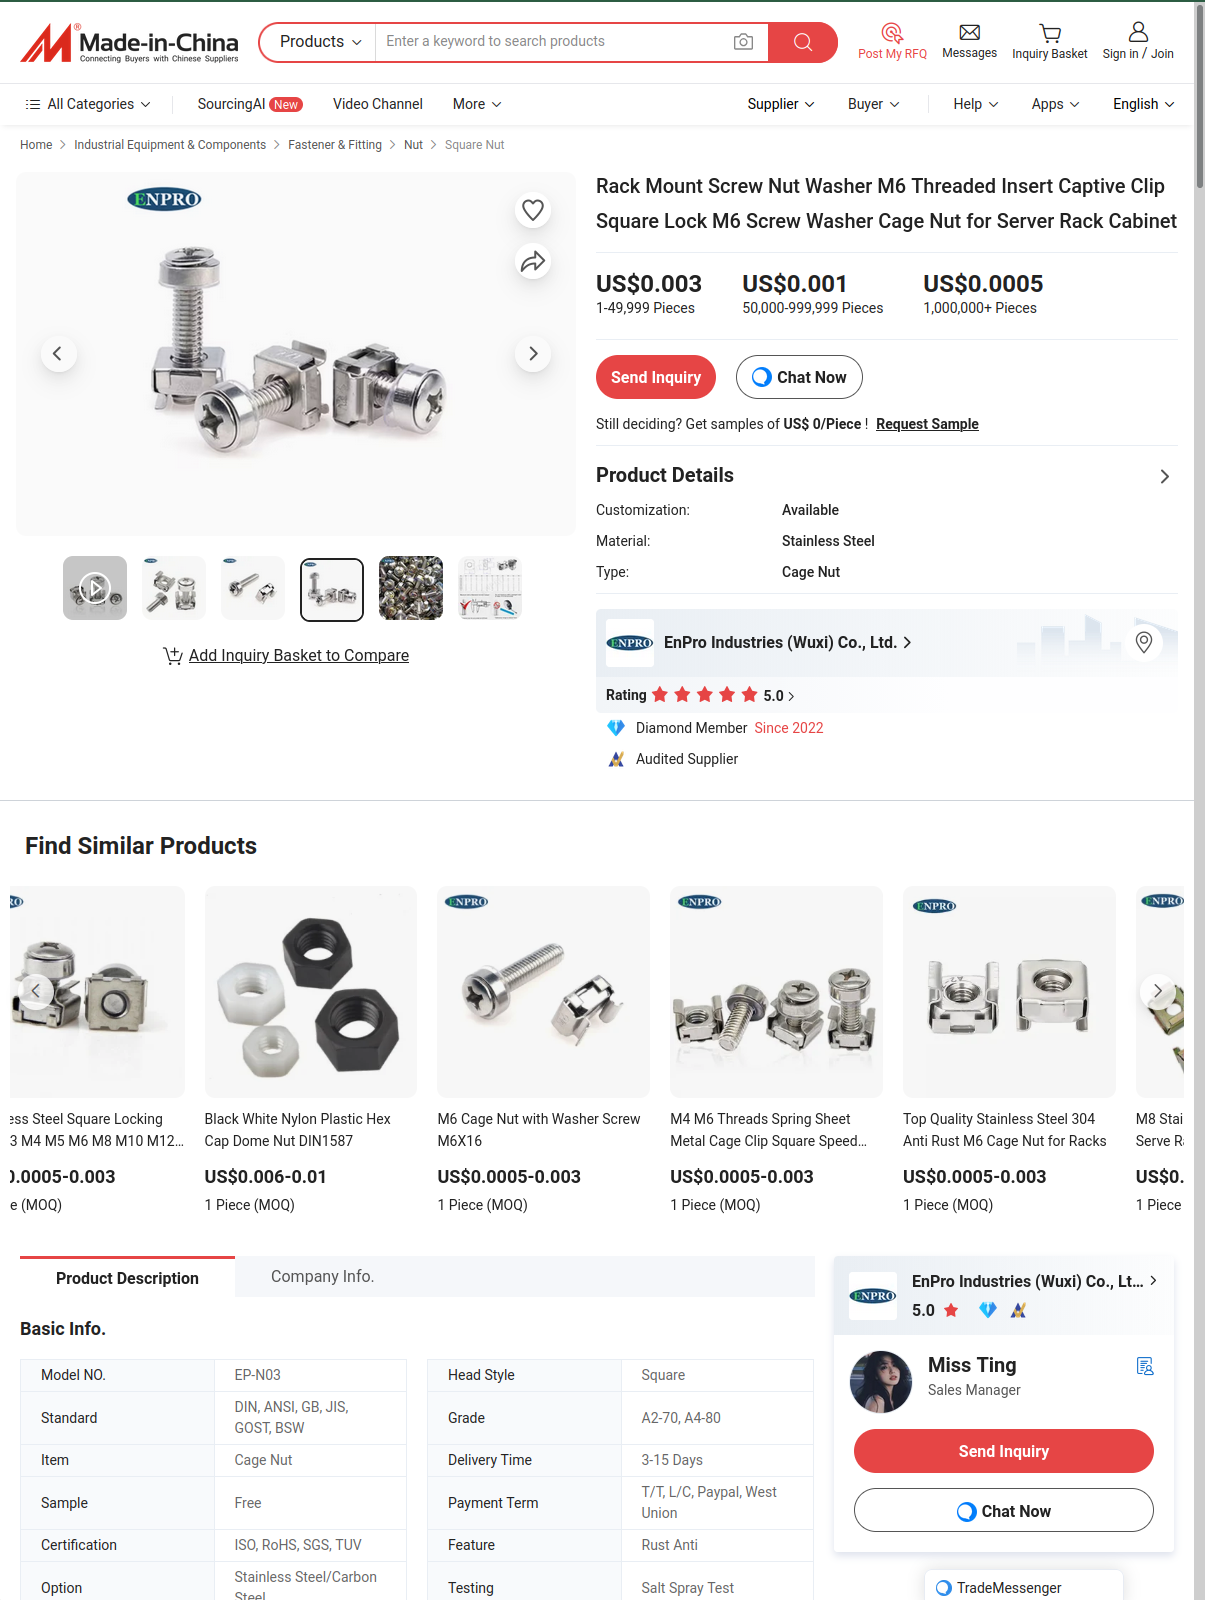
As I was going through my go-to box of rack stuff for cage nuts I found this one bolt that I've had forever and really want to find another one of so I can do a thing or something. It's too nice to just toss and I do try to at least match so it's not like I'm gonna ever use it.
So anyway, I went hunting for captive cup washers and there are guys like turning them or water jetting them for like 35 cents a washer, which seems a bit. Extravagant. For me.
So...Sell me them. How much man, gimme a checkout page. "Send Inquiry"? I don't want 40,000 of these things. Am I supposed to chat with the sales engineer? Miss Ting? Is this page a Ru Paul movie from the '90s?
Searching for the product only ever brings you to this page, so that's cool.
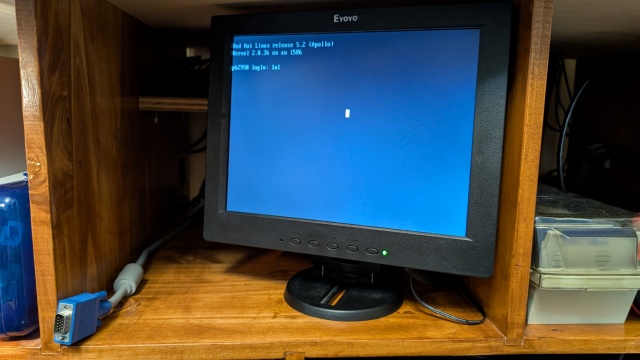
Here's the 30 second beer ad commercial for this monitor.
I can plug in every single machine I own and switch between them all with a remote. In basically two days I built a full isolation network mini-rack build right into the monitor chassis to allow seamless administration of an untusted network with Windows 95 and RedHat 5.2, NeXT, Mac all wanting file sharing service, name services, software and driver repos. That's all done. I can just grab drivers on my workstation, drop them right into a file share and pick them up on a Windows 95 machine. And I have loose VGA connections ready to go to configure servers and stuff that have VGA out. All that VGA video is going through two, passive $25 VGA switchboxes. Looks super sharp, and I was the guy with the 17" and 21" Sonys (as pictured below!). My big Trinitrons also just had tons of this switchbox stuff going on and never looked this good. I mean, chalk it up to better cables I guess, but I very purposely bought the "Standard '90s Beige Switcher" with the big chunky knob and yeah it just looks perfect.
Not only all that, but you can capture the screen through the crystal clear HDMI output.
I'm pretty sure streaming is a main intended feature of this monitor, but even for me, where that's not my primary use for this thing, it's so convenient. I can sit here in a Secure As I Can Make It VNC connection to a Windows 95 machine and capturing what's on the screen across the room in OBS. I find myself instinctively just watching progress on the display in OBS rather than turn all the way around just to see if my 57MB has copied over its 10Mb Ethernet yet.
Neat Indeed.
And yeah that modem is "10BASE-T" explicitly. The manual specifies Category 3, 4 or 5 UTP for 10BASE-T). This DOS only program really is how you set things like the duplex in the manual.(Not speed/duplex, multiple speeds didn't exist)
I could probably have left it at 10/Half and been just fine. I should get some 100Mb cards though. There's not gonna be a whole lot of bidirectional traffic on this thing. I mean I worked on plenty of office networks running 10BASE2 back in the mid '90s. Occasionally someone would have Novell and some twisted pair.
I thankfully got in toward the tail end of "new" 10BASE2 installs though I did my share of fishing that shit in several-hundred-year-old buildings.
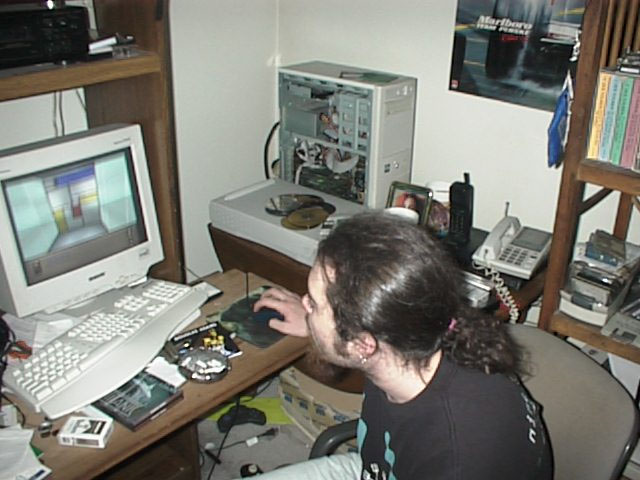
SCSI also. I have like 2 bins of SCSI stuff plus enclosures I really want to build. That SCSI gear was Above My Pay Grade in 1997 when I was 22 and burning all the candles at once with a blowtorch. The Packard Bell I'm working on now is identical to the one I first played Doom on in 1994. Mine was an SX-33 that I upgraded to a Cyrix 80Mhz. This one is an Intel 50Mhz, so it's a "2052" rather than the "2033" I had. The P120 is also very age appropriate. This whole thing is basically an upscaled version of my 22-ish year-old setup.
The file modified datestamp on this photo is 9/9/1999 at 10:57PM. I think that game is Obsidian, which I did pay for and did own which came out in 1997, so I'd have been between 22 and 24 there.
I'm wrong, that's Starship Titanic, which was my other guess, which came out in April 1998, and I did buy it it's on my desk there!
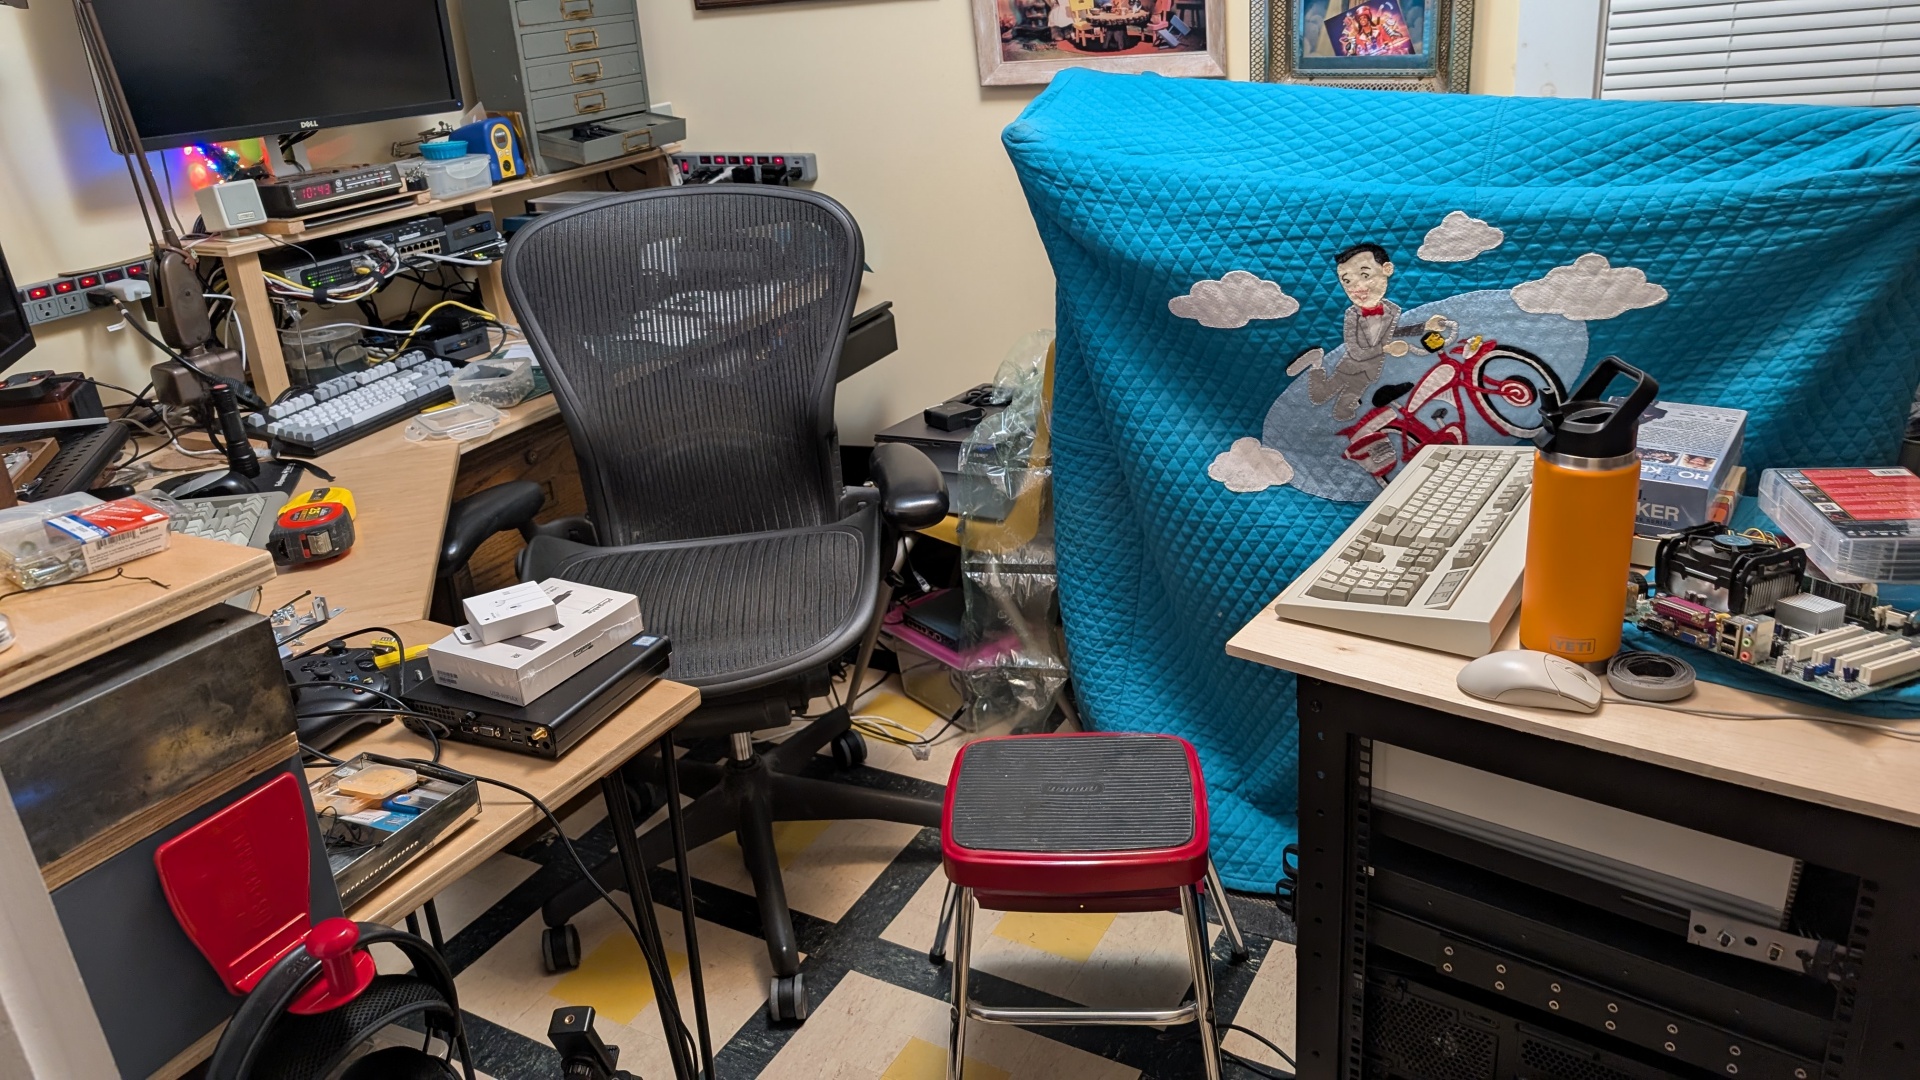
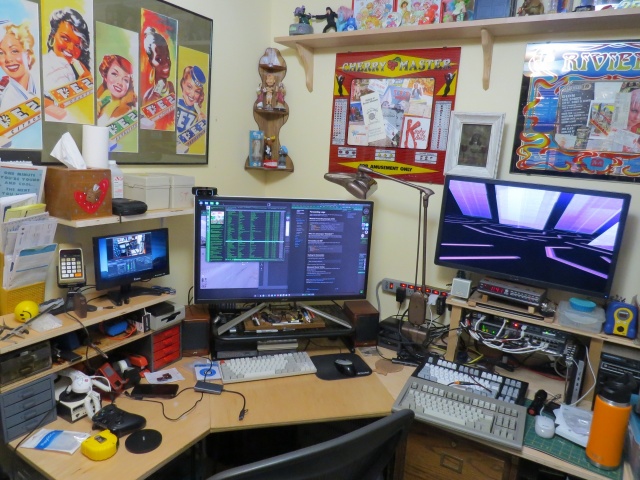
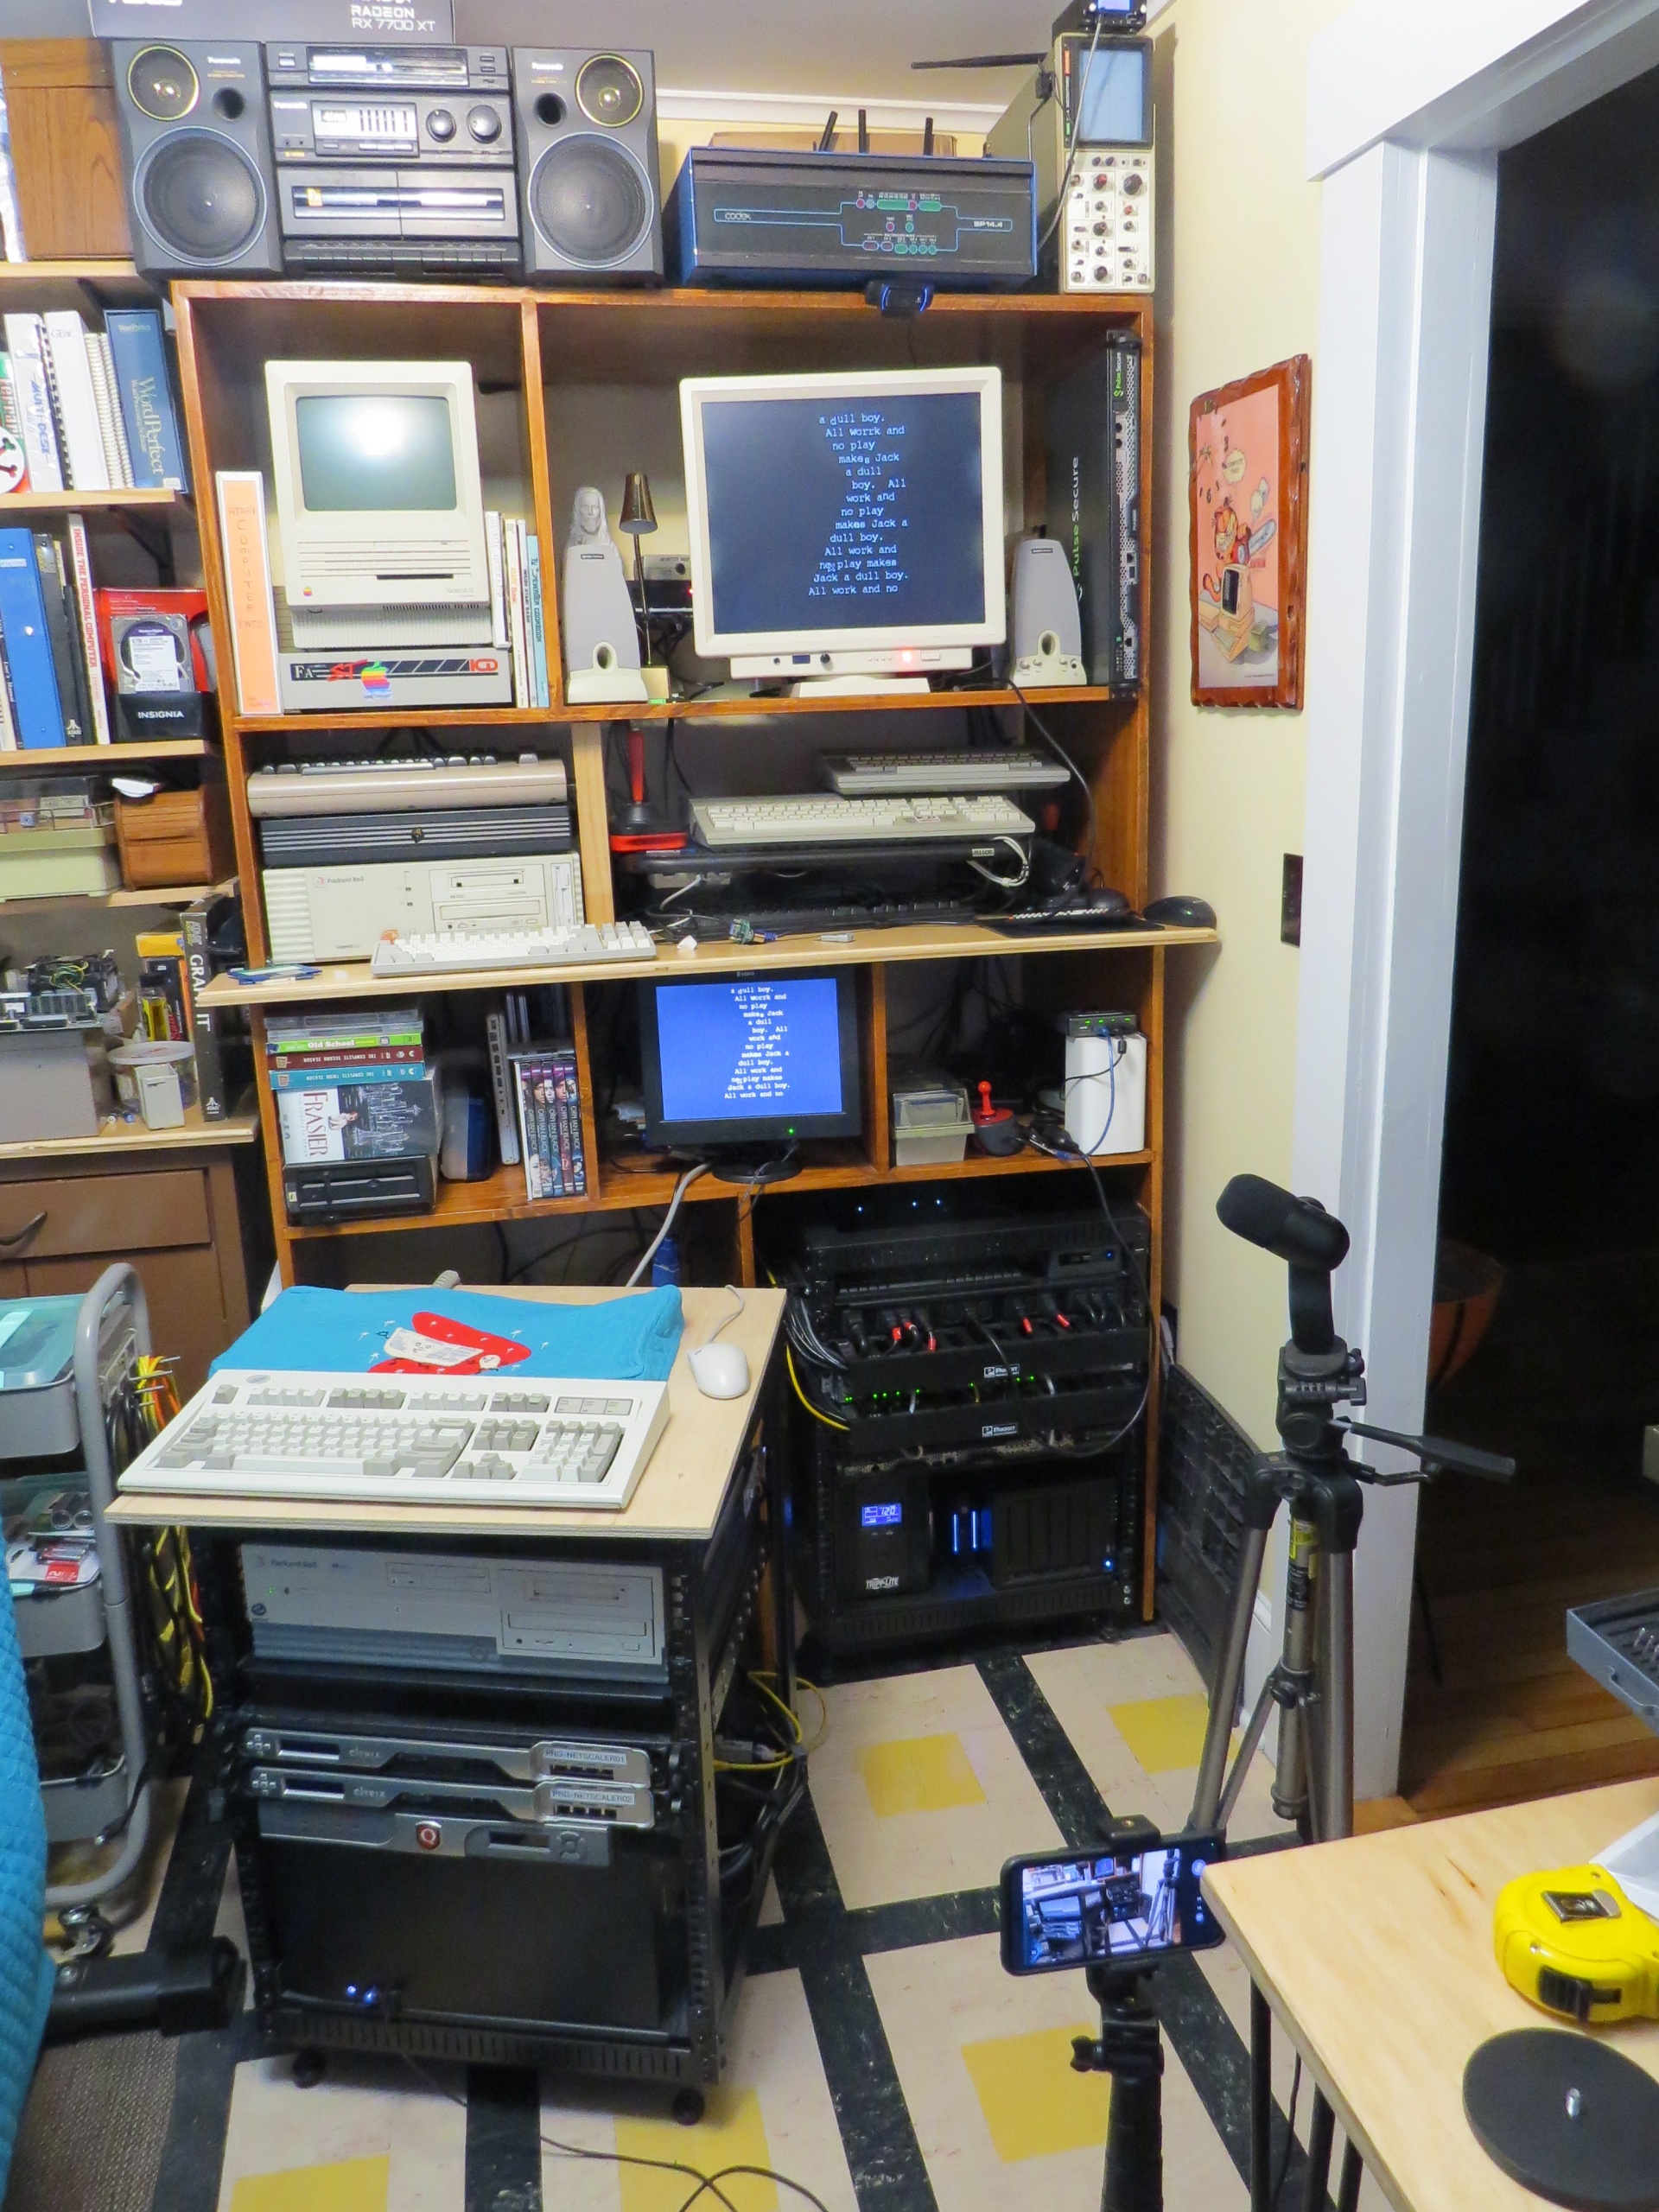
This is what it looks like when I do every single project all at once. When I do one thing, but that depends on 5 other things so it explodes the office! I love this. A person with training might call this a "manic episode" but I choose to say I'm super excited and motivated. Basically I've been sitting in this office for 10 years saying "When I have 10 minutes to think, I'm gonna...".
Well today those things were:
Re-cable the henge and fix everything ugly. That largely happened today.
Put in a shelf and clean up the mess that is this VGA switcher and cabling (NeXT + 2 PCs)
Put non-UPS in-rack power in that one rack for non-essential machines
Re-think my desk/workbench side of things and cable everything up tidily
Doesn't look tidy, but believe me it's really clean under all the mess!
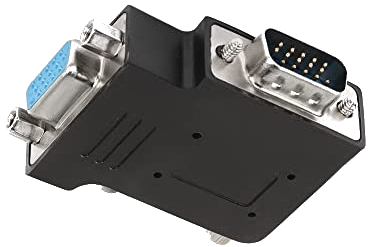
I'm going to stick some Panduit under the new power strip and tidy up all the 9' Model M cable, I'm doing a longer VGA cable right now:
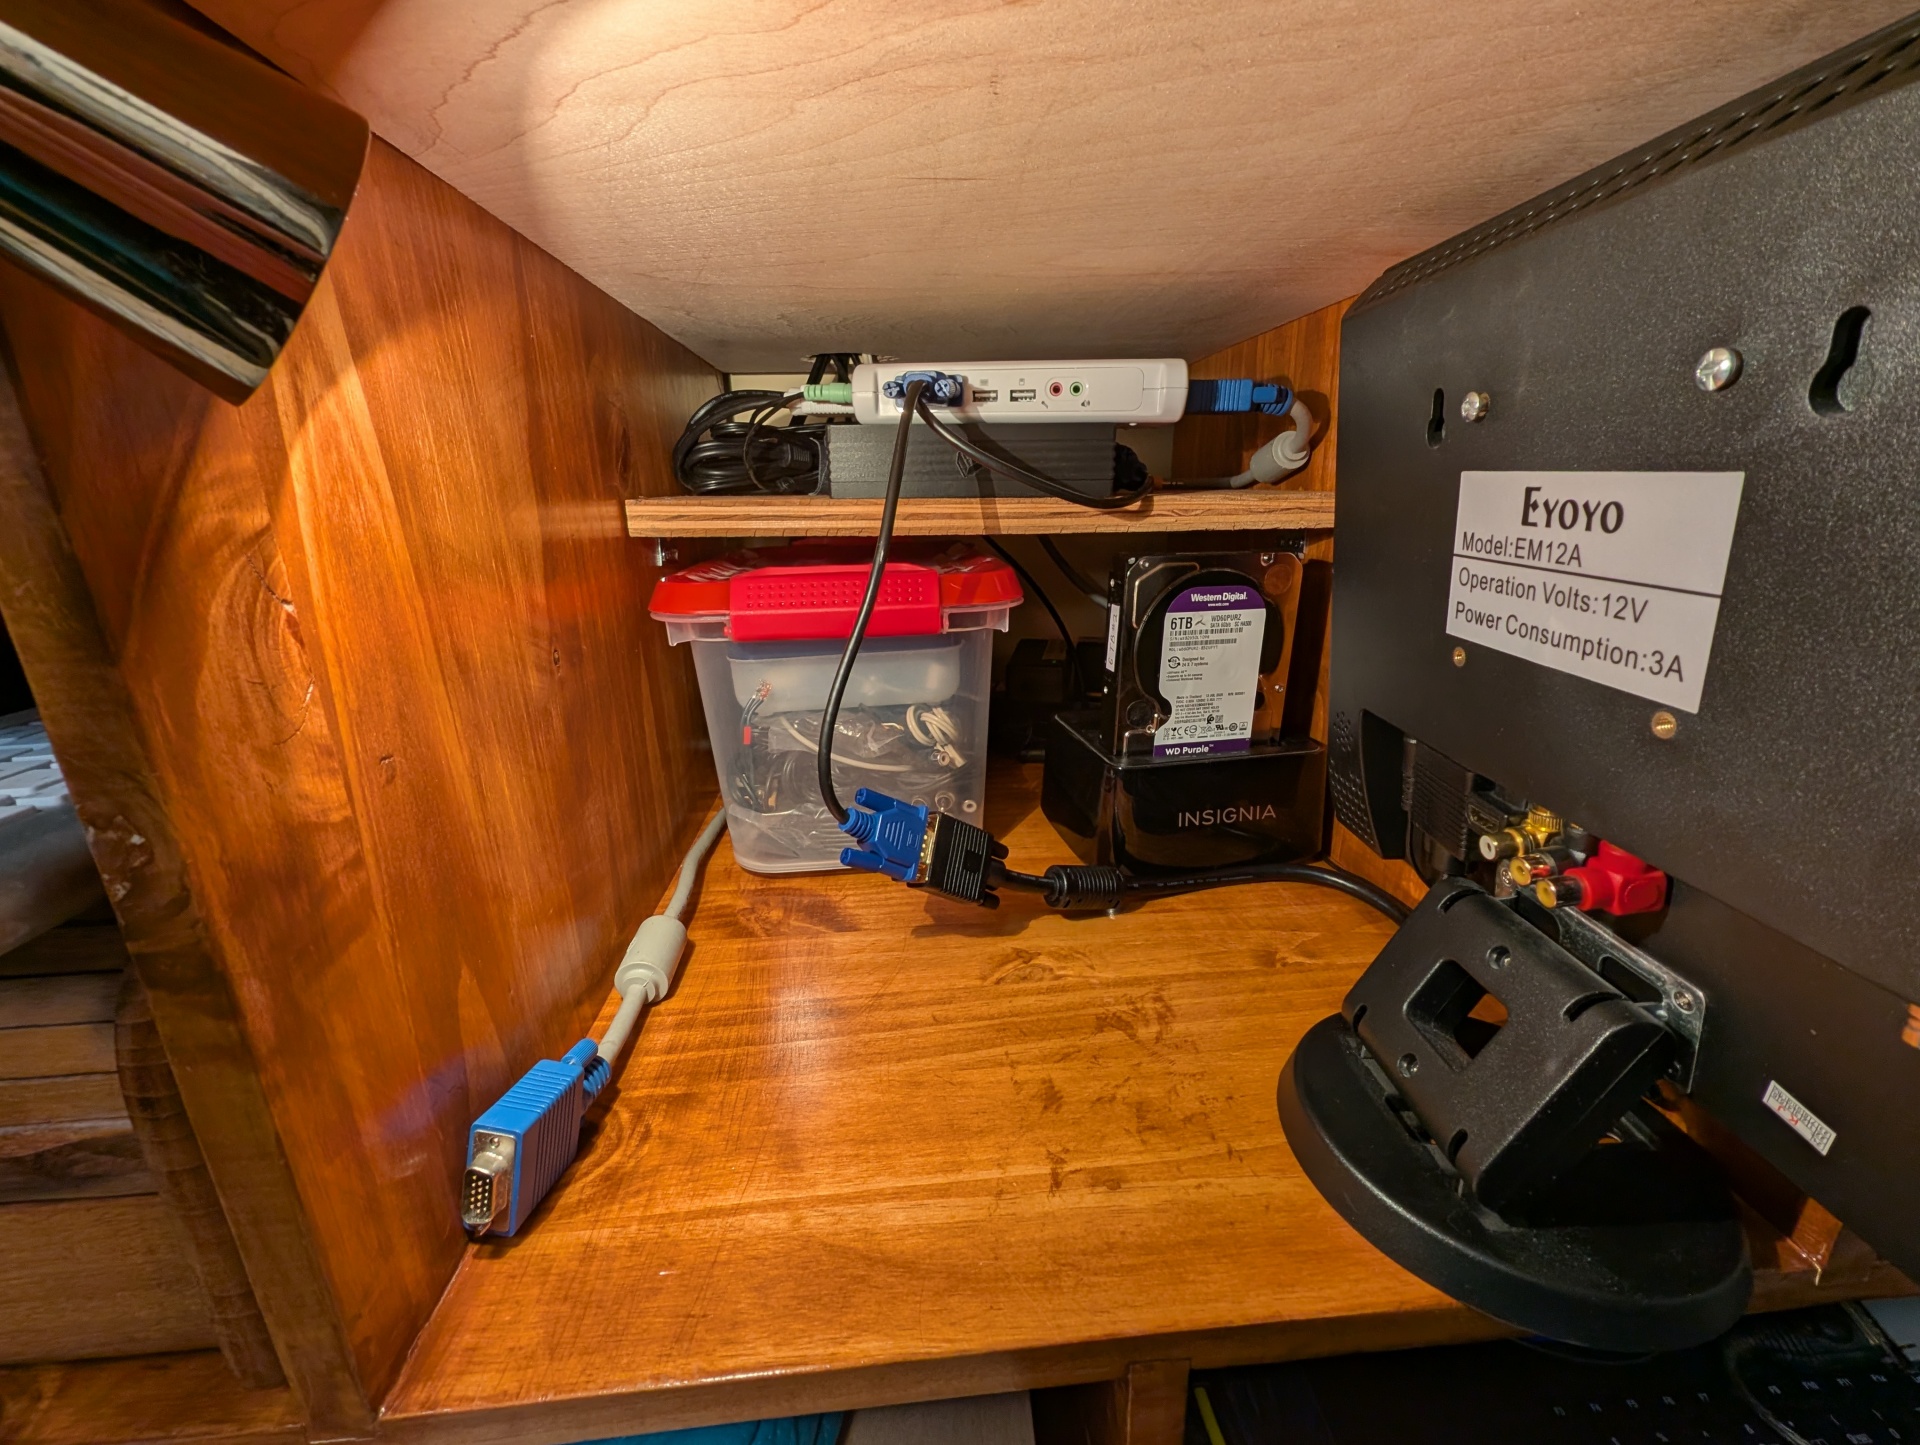
That bin in there has one of every analog A/V cable, adapter and dingus. There are lots of angled and shorter cables coming to clean that up more. The black thing is the NeXT station breakout box for VGA, sound & keyboard. The VGA cable on the left is for stuff I want to plop down and work on like a 1u server or a PC or laptop. I have two P4 PCs that I've never even powered up because doing so would be a hassle, well Hassle No More! I have a bunch of rackmount stuff to build to replace this unstable webserver. I'm going to start with one and work my way up to two servers splitting the load here.
This one might be sort of tricky. Hey Natalie, do you guys sell anything we could like taste test in the store? Maybe I should email the lighting place like what we used to do back in the before times.
I'm building a shelf in this cubby to hold that super un-weildy VGA switcher. It's awesome but I would have paid triple the price for just 5 ports in a row rather than this octopus nonsense. It was $30, what do I want.
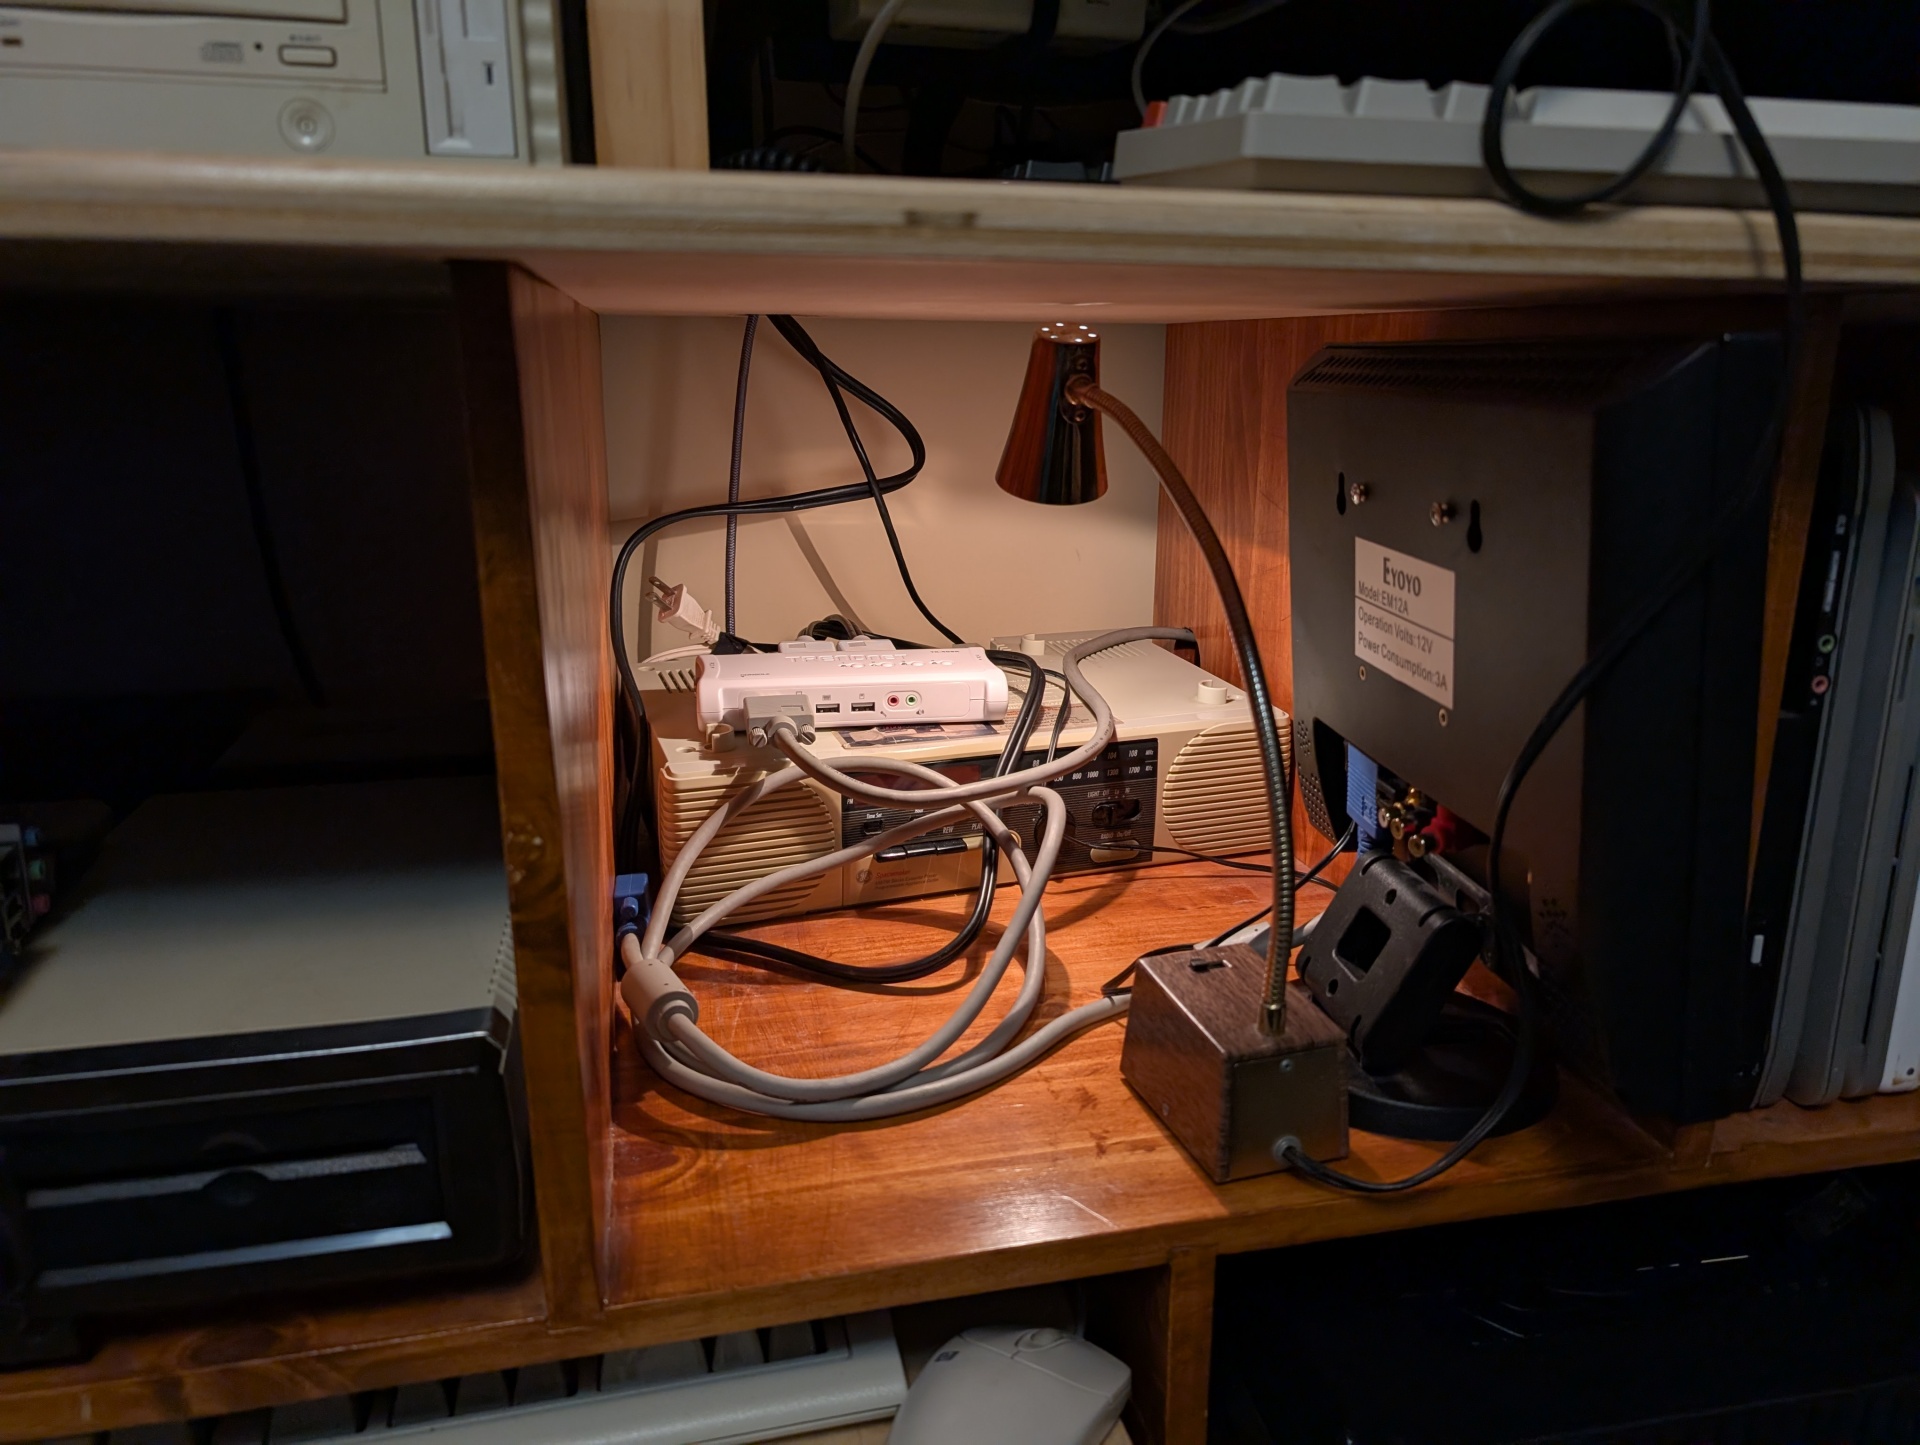
I need to mount that radio too, it looks super cool. I'm also going to make that the home for things like the NeXT VGA breakout box and hopefully the first USB keyboard and mouse dingus they sell. And a bin-full of adapters and "general retro-ey converters and plugs"
So I have this vintage brass and painted woodgrain gooseneck lamp which is awesome looking and so perfect for exactly what I need it for. Imagine sticking like a flashlight on its end pointing up vs this thing. But hoo man this thing's going to burn my house down like that bulb gets scalding hot within a minute or two.
These are 12V bulbs so that base has a transformer in it that gets nice and warm but gives switchable low/hi which is nice. It uses GE 1156F bulbs, which are like automotive backup lights or in a garage door opener. So I want like a modern LED equivalent that is going to look warm and nice like this thing but searching I don't think I trust buying anything I don't see with my own eyes first or someone personally vouches for. Whatever it is I'm not buying four of them for $10 without seeing them lit for real with my eyes.
I want the pleasant light qualities of a 60 year old incandescent light bulb made for one of like 2 "warm ambient light" scenarios for this bulb.
I'd pay $20 for a single bulb if I knew it was exactly what I wanted. I'm sensing a theme in this post.
Today was my last day at work, so of course I'm pulling an all-nighter working on projects and building my workflow. I don't think that will ever stop.
*I just got yelled at at 2:40am for pulling an all-nighter right now today. I'm like dude, it's my vacation, and this is me, relaxing on my goddamn vacation! I can sleep in a few days*
This is the desk I sat at for the last 5 years of my job and for two days a week for a decade before that. To be honest it feels weird for the job to be gone and for me to still be allowed in here. This is likely the last photo that will have my work laptop running Gibson in it. I am currently running through every bin and every parts drawer and converting my entire life over from full time network and server admin to ... someone who just hangs out and does projects and upgrades and documentation for a while.
And this is a sneak peek at what I mean when I say "I have a lot of projects in mind for this CheckMate monitor". I'm waiting for one sort-of crucial piece to this puzzle, then I'm going to make an in-depth tour of how I run all of this stuff, from media services to radio broadcasts. I'll be upgrading and making a lot of sysadmin improvements now that I have been freed for a bit. Retro computers are a piece, but are not really the "purpose" of this pile of stuff. My talents lie elsewhere. Fun times ahead as I embrace my inner digital hermit! I will explain why that is a good thing.
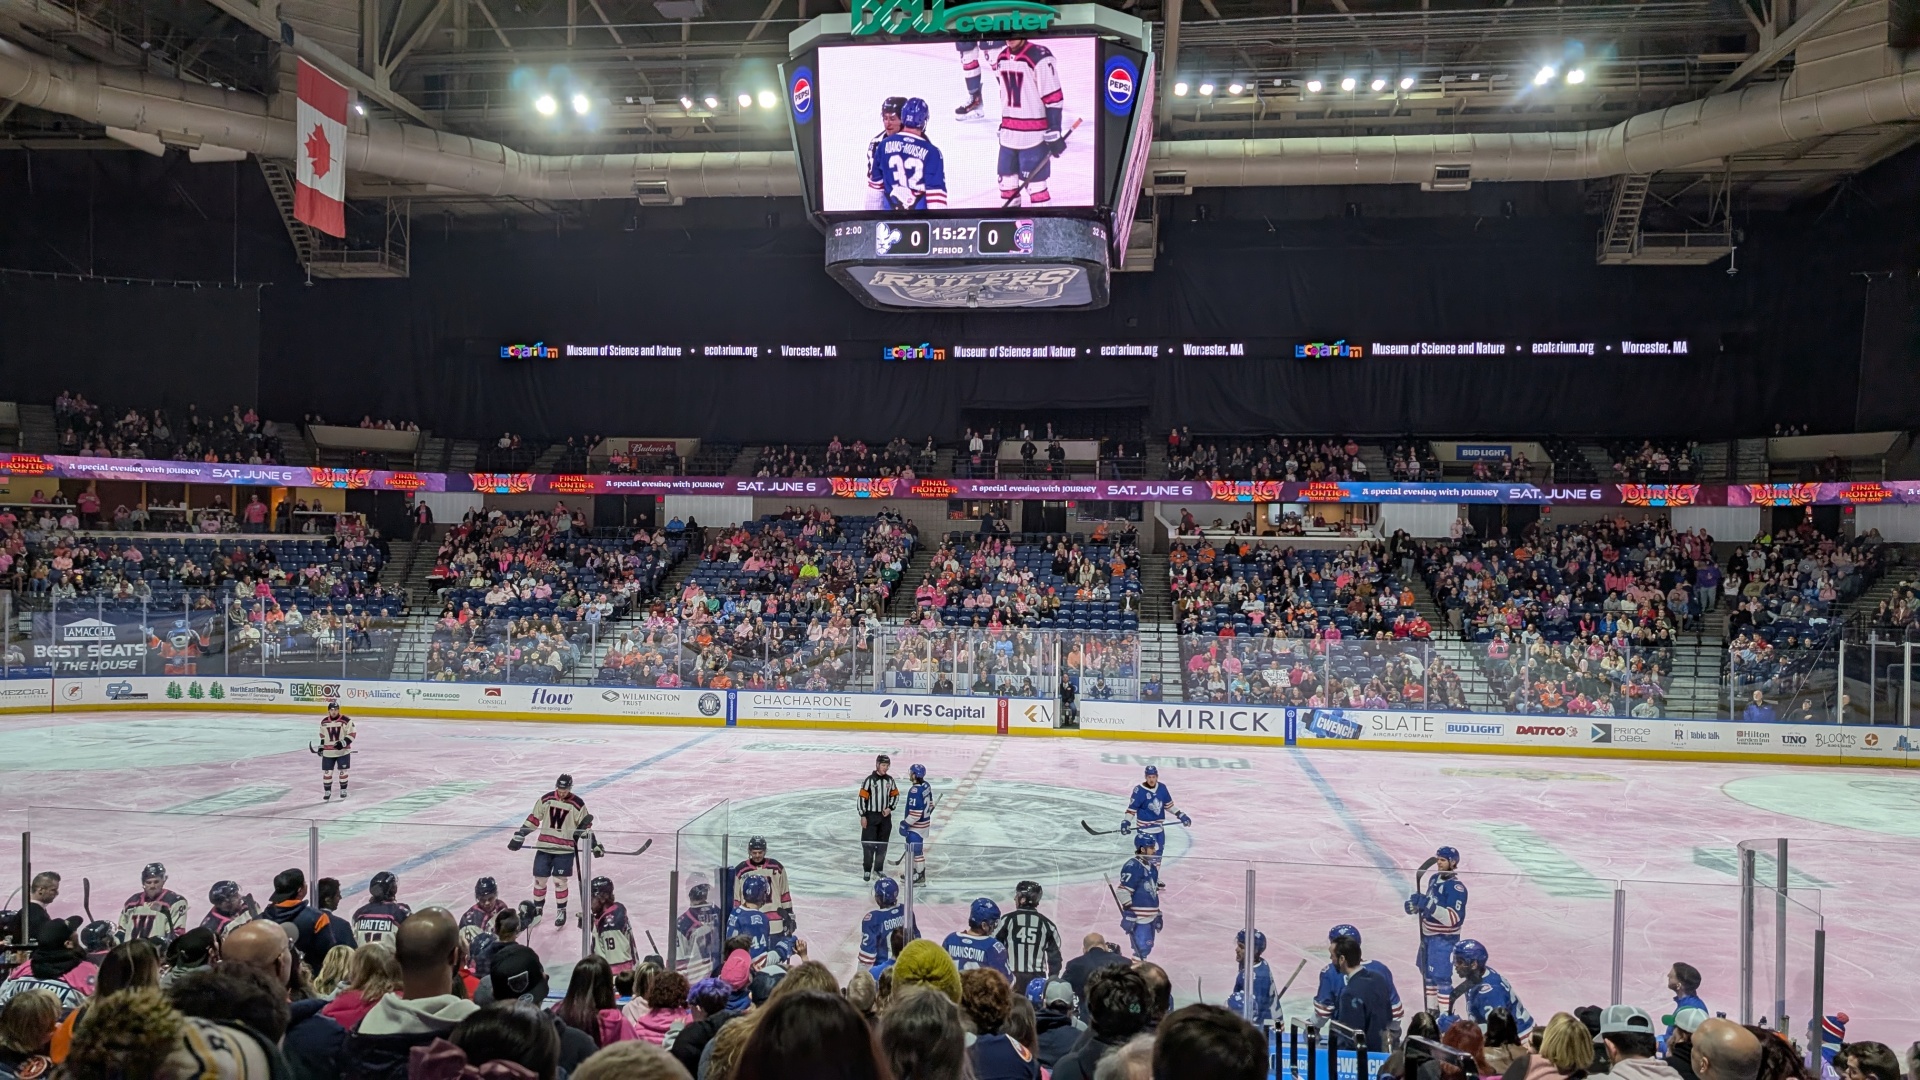
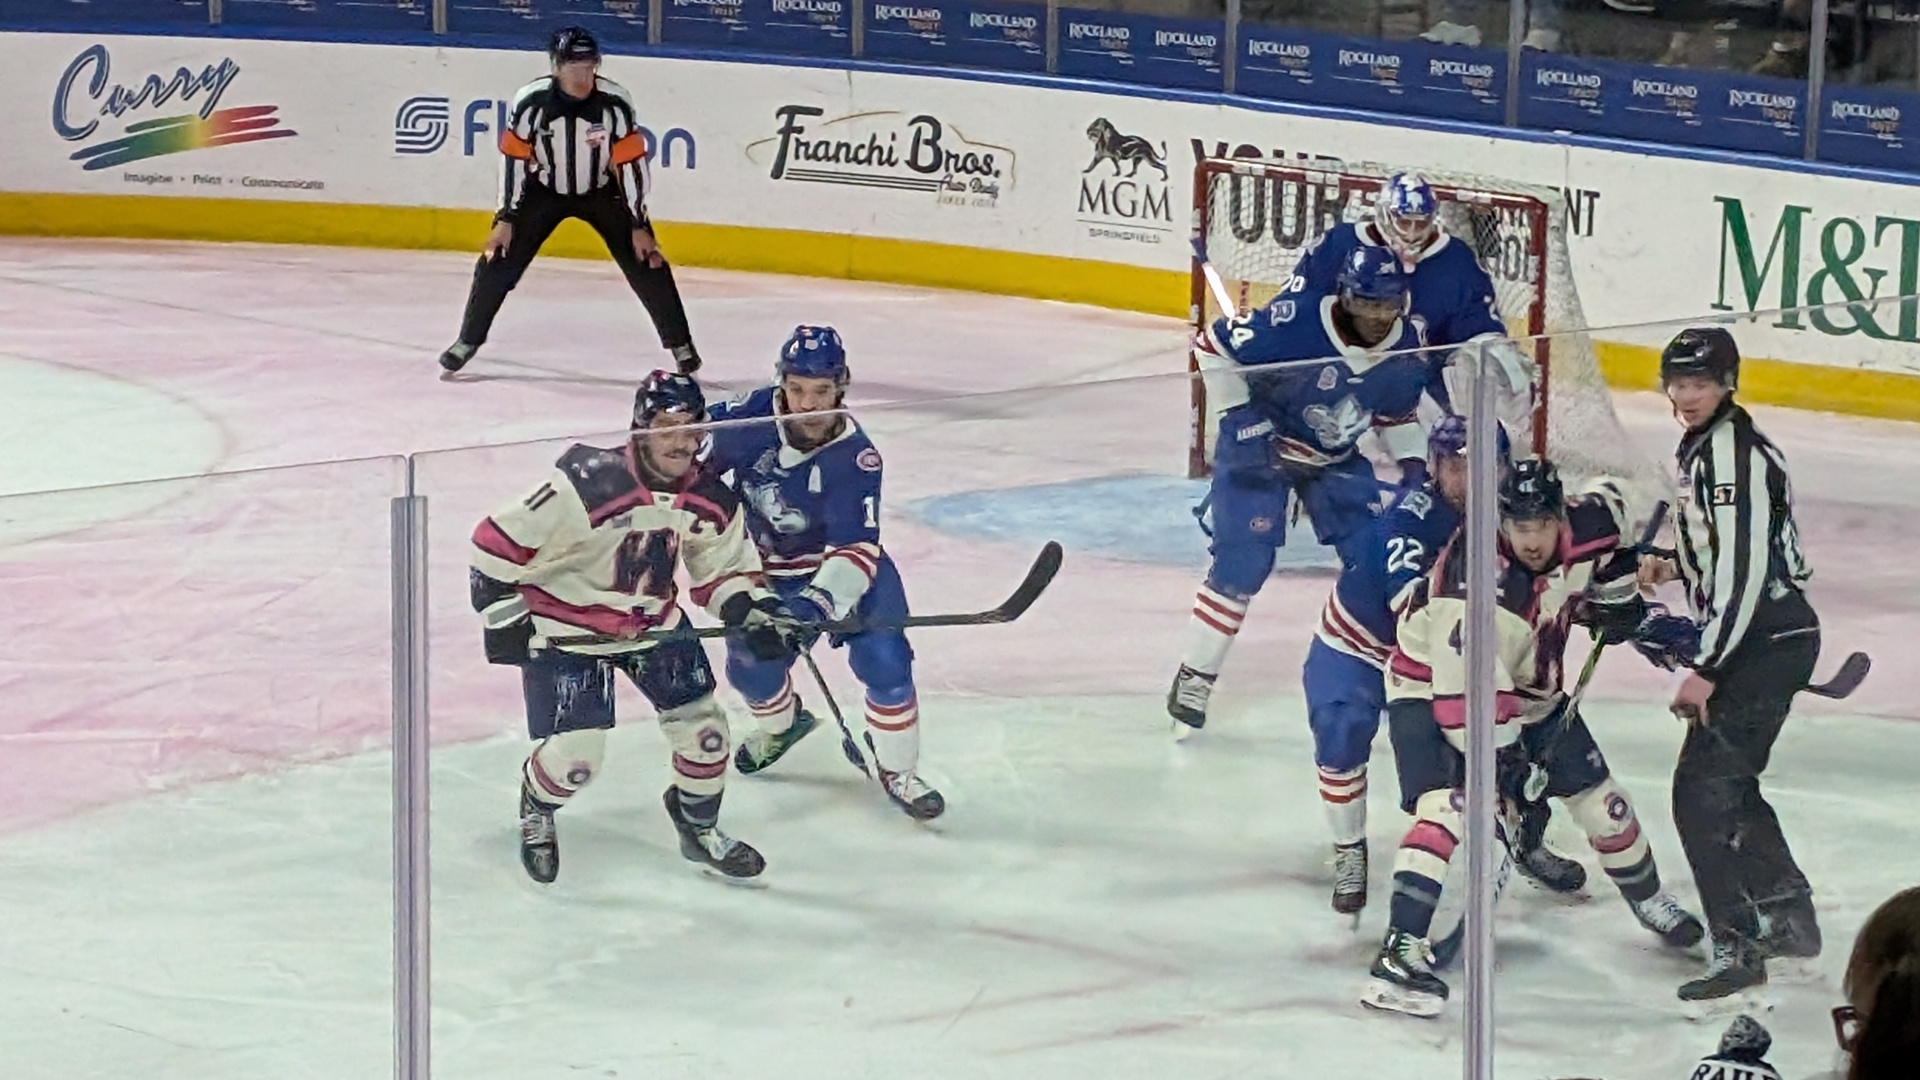
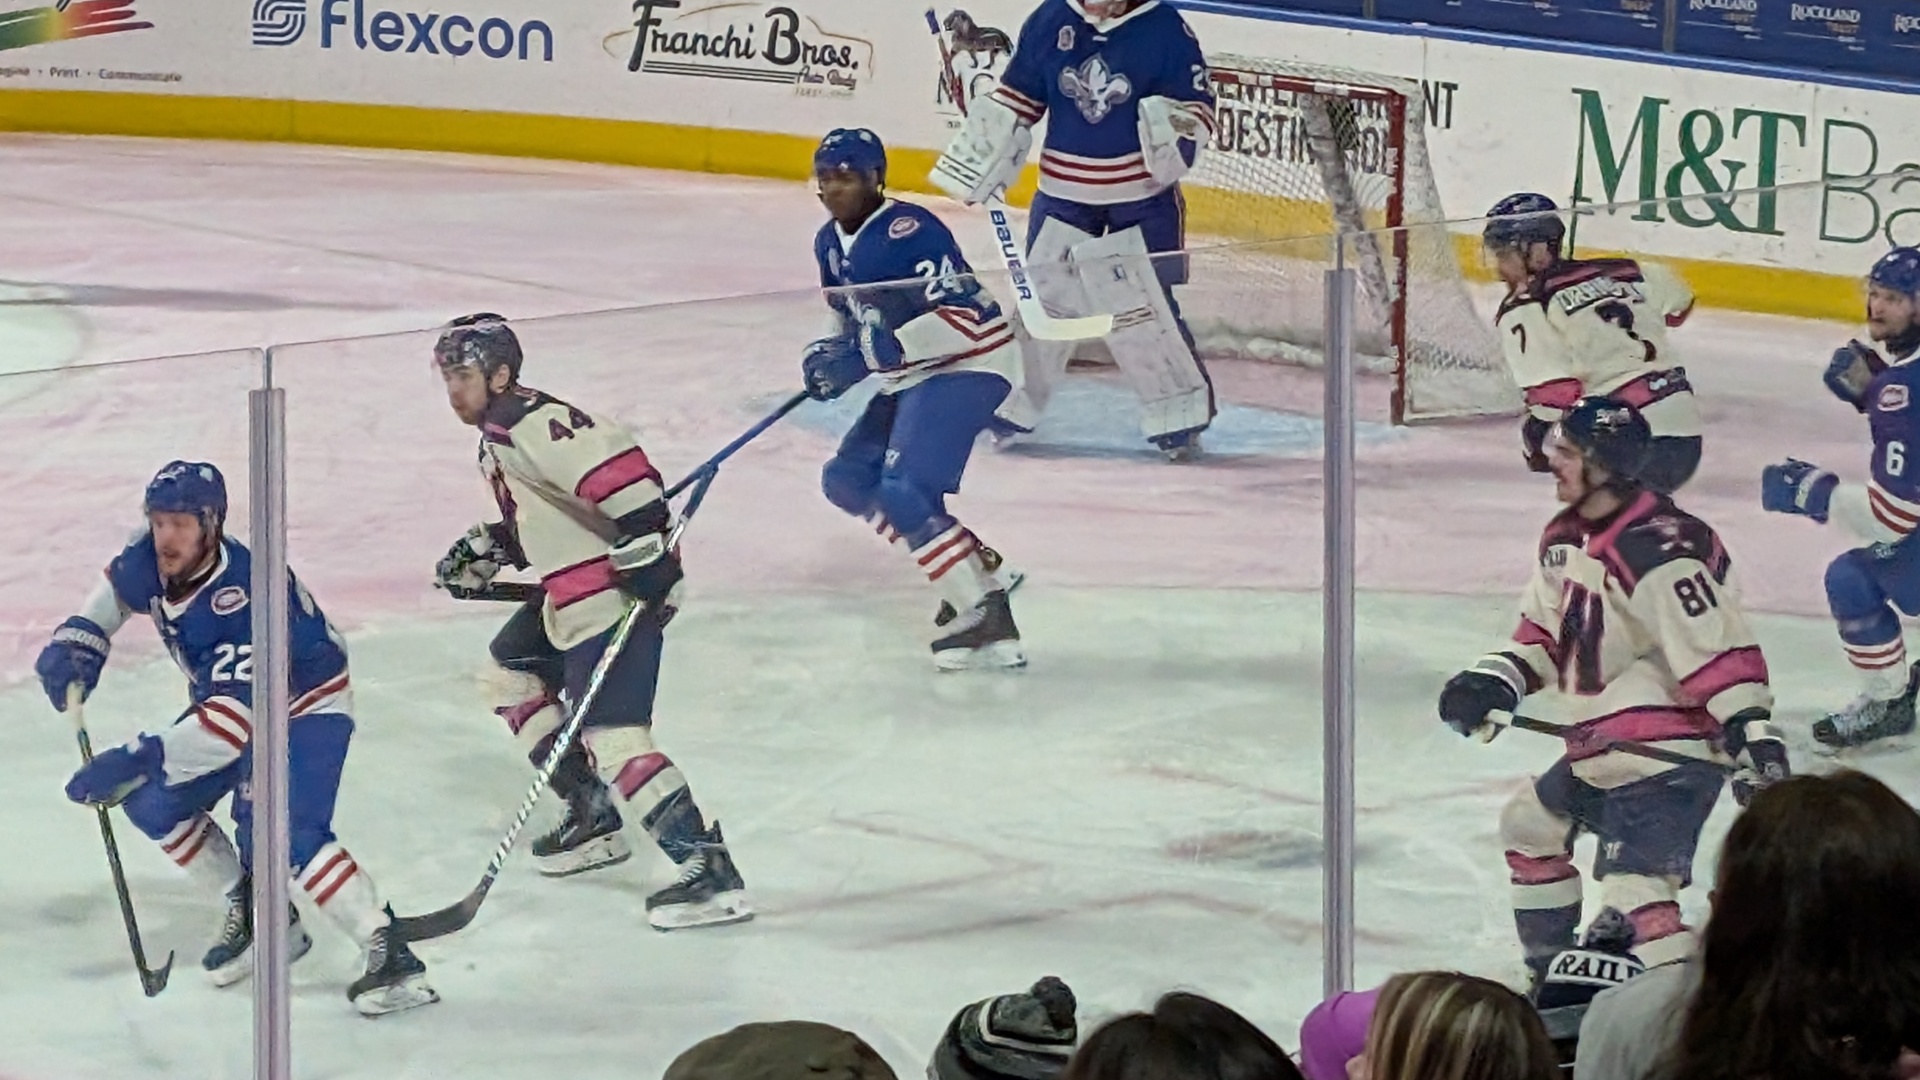
As has become tradition. Tonight we ate soft pretzels and watched Worcester lose to Trois Rivieres. On Valentines we try to do Hockey, on our anniversary usually we'll go the drive-in or Funspot, depending. Tonight was great. The (I think "teen", Natalie guessed 22) kid next to us is going to make someone a real fun friend to drink with one day in fancy restaurants. Natalie not withstanding, that "one" friend always draws me. I think I sometimes have been "that friend". She was getting so mad we were dying.
Fun fact, this is the first year in the last 18 years of my job that I'll be able to do something on Natalie's birthday or our anniversary weekends. For several years I had to leave our anniversary weekend at the New England Shake-up in Sturbridge to go to Waltham and do monthly Colo Maintenance from 11pm to 4am Saturday morning crawling in bed at the hotel around 5:30-6 and waking up Natalie. The (often First and-) Second Friday after the Second Tuesday of the month is a cruel bitch with no regard for my stupid holidays.
I'm wondering if I shouldn't have a bench power supply for this, but I have a couple of USRobotics modems and the power supplies are way different, like I think one is 19V something. I guess I just have to try them both on the smaller one and hope for the best? Neither one has any external indicator of what voltage they want even though the courier has a full printed summary of all the AT commands and detailed DIP switch settings. All of which is helpful, but how the fuck many Juice do you want coming in this hole right here? Center positive, presumably?
I made a quick tour video for an audience of about four. Here's a brief look at the basic stuff in my office, much of which I will do better quality videos about soon. Maybe like a monthly VAST/SPACE meeting? I dunno.
Enjoy the 1992 aesthetic. Pretend it's a VHS-C tape or something you found at Goodwill.
Update: I didn't notice the screensaver during the whole desk part until uploading just now and it's my favorite thing ever.
Sinéad O’Connor - Jerusalem (AKA the nice lady who was right about near every goddamn thing)
I'm running this setup to backup some Atari ST 720K floppy disks I have. I'm interested in backups of BBS newsletters and general BBS/Early-Internet ephemera from the '80s and '90s and I'm finding cases where at a glance I can't find that specific copy of like STReport or whatever on the Archive. Also anything fun related to the specific Atari club we were all members of since this is likely the only copy of any of that.
I'm very happy with the roll-away desk surface on top of this rack: